How to Repair Cracks in Concrete Driveways and Patios: A Step-by-Step Guide
Concrete driveways and patios, while durable, face constant exposure to the elements and regular use, which often leads to the development of cracks. These cracks not only affect the visual appeal of your outdoor spaces but can also compromise the structural integrity of the concrete. However, with the right approach, how to repair concrete cracks in concrete surfaces can be a manageable and cost-effective DIY project. This guide will walk you through each step of the process to ensure you can carry out repairs that restore your concrete driveway or patio to its former strength and beauty.
Step 1: Evaluate the Cracks
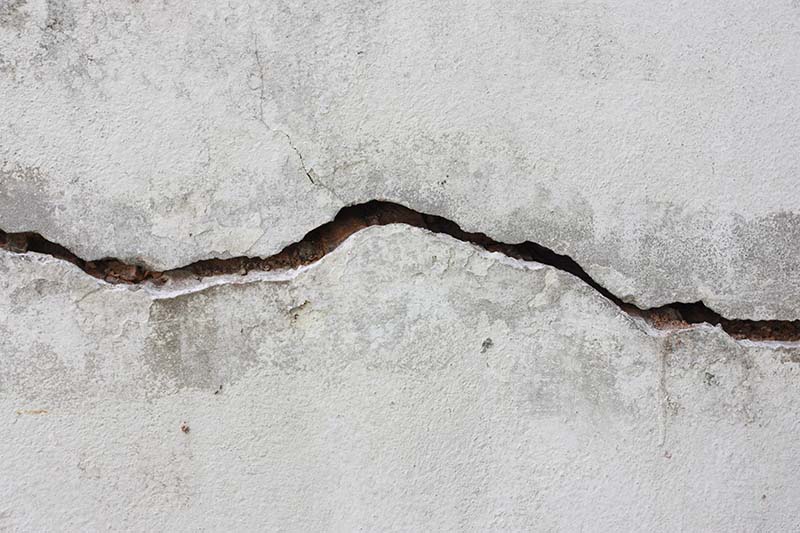
The first step in repairing cracks is evaluating their size and type. Start by inspecting the cracks closely to determine whether they are hairline cracks, small cracks, or large cracks. Hairline cracks are typically minor and may only require sealants, while larger cracks will need more substantial patching material. Identifying the type of crack ensures you choose the most effective repair technique for each situation.
It’s also crucial to check for any underlying issues that might have caused the cracks, such as poor drainage, soil settlement, or tree root intrusion. Identifying and addressing these issues helps prevent future cracking, saving time and money in the long run. If drainage is a problem or tree roots are causing damage, take steps to resolve these concerns before proceeding with the repairs.
Step 2: Prepare the Surface
The next step is cleaning and preparing the surface for repair. Begin by thoroughly cleaning the cracks and the area around them. Use a wire brush, stiff broom, or high-pressure washer to remove any dirt, debris, or loose particles. This ensures that the repair material will bond effectively with the concrete.
Once the area is clean, remove any loose or damaged concrete from within the cracks using a chisel or screwdriver. This creates a stable, clean base for the repair material. For larger cracks, you may need to use a masonry grinder or a concrete saw to create clean and even edges along the crack. This step improves bonding between the repair material and the existing concrete, ensuring a stronger, more durable repair.
Step 3: Choose the Right Repair Material
The next decision in the repair process is choosing the appropriate material. For hairline cracks and small cracks, epoxy or polyurethane sealants are ideal. These sealants are flexible, providing excellent waterproofing and sealing to prevent further damage. They are also easy to apply and create a smooth, nearly invisible repair.
For larger cracks, you’ll need a high-quality concrete patching compound. This compound should match the color and texture of your existing concrete to create a seamless repair that blends in naturally. Concrete patching compounds are specially designed to fill and reinforce larger cracks, providing a strong, cohesive surface.
Step 4: Apply the Repair Material
Once you have your repair materials, the next step is to apply them. For hairline cracks, use a narrow-tipped applicator or squeeze bottle to inject the epoxy or polyurethane sealant directly into the crack. Ensure that the entire crack is filled, and then smooth the surface with a putty knife or trowel to remove any excess.
For small cracks, apply the concrete patching compound using a trowel or putty knife. Press the compound firmly into the crack, making sure it adheres well to the concrete. For larger cracks, it’s best to apply the patching compound in layers, allowing each layer to dry before applying the next. Feather the edges of the patch to blend it smoothly with the surrounding concrete surface, minimizing visible seams.
Step 5: Finishing Touches
After the repair material has been applied, it’s time to blend the patched area with the surrounding surface. To achieve a seamless finish, match the color and texture of the repaired area with the existing concrete. You can use a concrete brush or sponge to texture the surface, ensuring it complements the rest of the driveway or patio.
Allow the repair material to cure for the recommended amount of time—usually between 24 to 48 hours. During this curing period, avoid foot traffic and heavy loads on the repaired area to ensure the patch bonds securely and cures properly. This will help ensure a long-lasting, durable repair.
Step 6: Regular Maintenance
To prevent future cracks, proper maintenance is essential. Ensure that your concrete driveway or patio has good drainage, and address any structural issues that could cause cracking, such as uneven settling or tree root growth. Sealing your driveway or patio periodically can also help prevent damage from water, chemicals, and other environmental factors.
Sealing the concrete creates a protective layer that helps reduce the risk of further cracks and maintains the longevity of the repair. By keeping the surface sealed and regularly addressing minor issues, your concrete driveway or patio will stay strong and visually appealing for years to come.
Final Thoughts
Repairing cracks in concrete driveways and patios is a straightforward DIY task that can significantly enhance the look and durability of your outdoor spaces. By following this step-by-step guide and using the appropriate materials, you can achieve a smooth, long-lasting repair that blends seamlessly with your existing concrete. With regular maintenance and care, your driveway or patio will continue to serve you well for many years.


