DIY concrete planters are a fantastic way to add a touch of greenery and elegance to your outdoor decor. These versatile and stylish planters can be crafted in various shapes and sizes, allowing you to unleash your creativity and create custom planters that perfectly complement your outdoor space. In this guide, we’ll explore the steps involved in making DIY concrete planters and how you can use them to enhance your garden or patio with natural beauty.
Choosing the Right Concrete Mix:
Before you start your DIY project, it’s essential to select the right concrete mix for your planters. Consider the size and weight of the planters, as well as the weather conditions in your area. Opt for a high-quality concrete mix that offers durability and strength to withstand outdoor elements.
Molding Your Concrete Planters:
Designing and molding your concrete planters is where your creativity can shine. You can use various materials to create molds, such as plastic containers, cardboard boxes, or even homemade wooden frames. Experiment with different shapes and sizes to achieve the desired look for your planters.
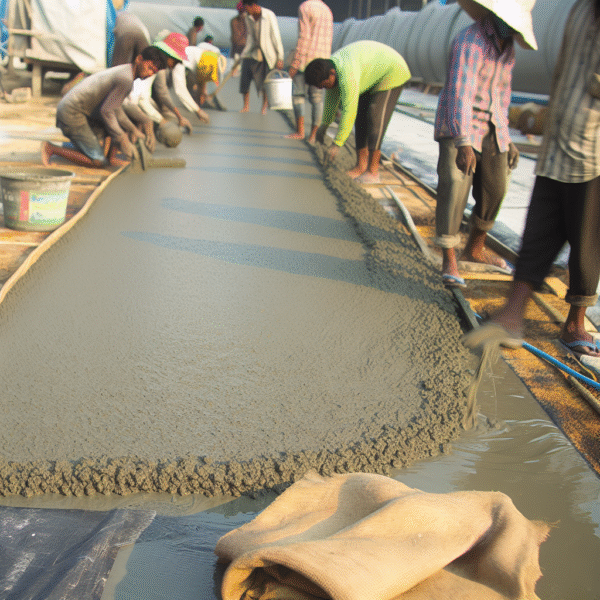
Mixing and Pouring Concrete:
Follow the instructions on your chosen concrete mix to create the right consistency. Carefully pour the concrete into the molds, making sure to eliminate air bubbles and evenly distribute the mixture. Use a trowel to smooth the surface for a polished finish.
Adding Drainage Holes:
Proper drainage is crucial for the health of your plants. Before the concrete sets, insert drainage holes into the bottom of the planters. You can use dowels or plastic tubing as makeshift spacers to create the drainage holes while pouring the concrete.
Curing and Demolding:
Allow the concrete to cure for the recommended time, typically 24 to 48 hours. Once cured, carefully demold your DIY concrete planters. Gently tap the sides of the molds to release the planters, ensuring not to damage the finished surface.
Decorative Finishes for your Concrete Planter:
Unleash your artistic flair by adding decorative finishes to your concrete planters. You can use paint, stencils, or even mosaic tiles to create unique patterns and designs that match your outdoor decor theme.
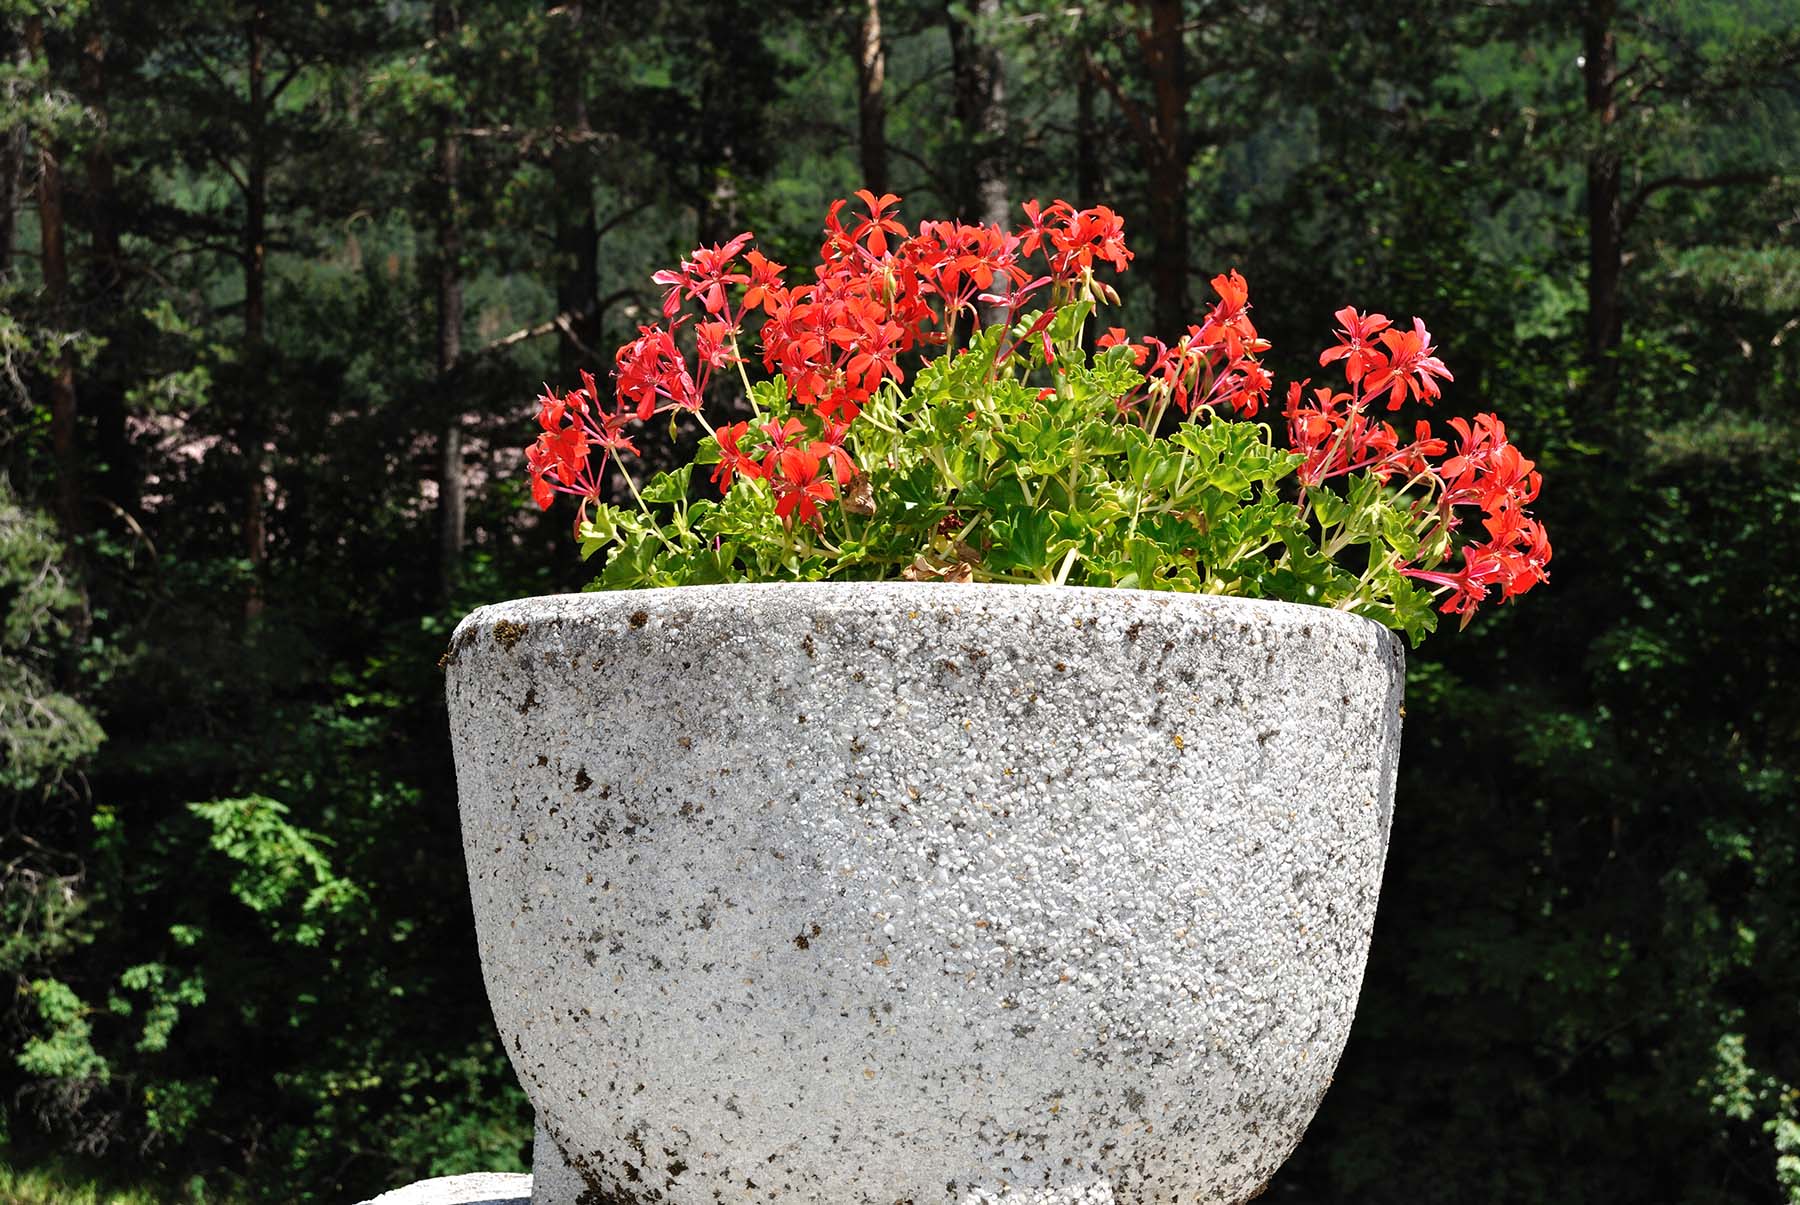
Planting Your Greenery:
With your DIY concrete planters ready, it’s time to add the greenery. Choose a variety of plants that thrive in your climate and suit your outdoor space. Whether you prefer colorful flowers, lush greenery, or succulents, the planters will provide a stunning backdrop for your garden oasis.
Advantages of DIY Concrete Planters:
Theseoffer numerous advantages, starting with customization. They allow you to tailor the shape, size, and design to match your outdoor space and personal style. Additionally, these planters are highly durable, built to withstand various weather conditions, making them a long-lasting addition to your decor. They also contribute to sustainability, as creating your own planters helps reduce waste and promotes eco-friendly gardening practices. Finally, these planters are versatile, easily fitting into any part of your outdoor space, from patios and decks to garden beds and entryways.
Final Thoughts:
DIY concrete planters are an excellent way to infuse your outdoor decor with greenery and elegance. With a bit of creativity and the right materials, you can design and craft custom planters that add a personal touch to your garden or patio. Embrace the joy of gardening and showcase your DIY skills by creating beautiful and functional concrete planters that stand the test of time.