How to Install a Mailbox Post in Concrete with Quikrete
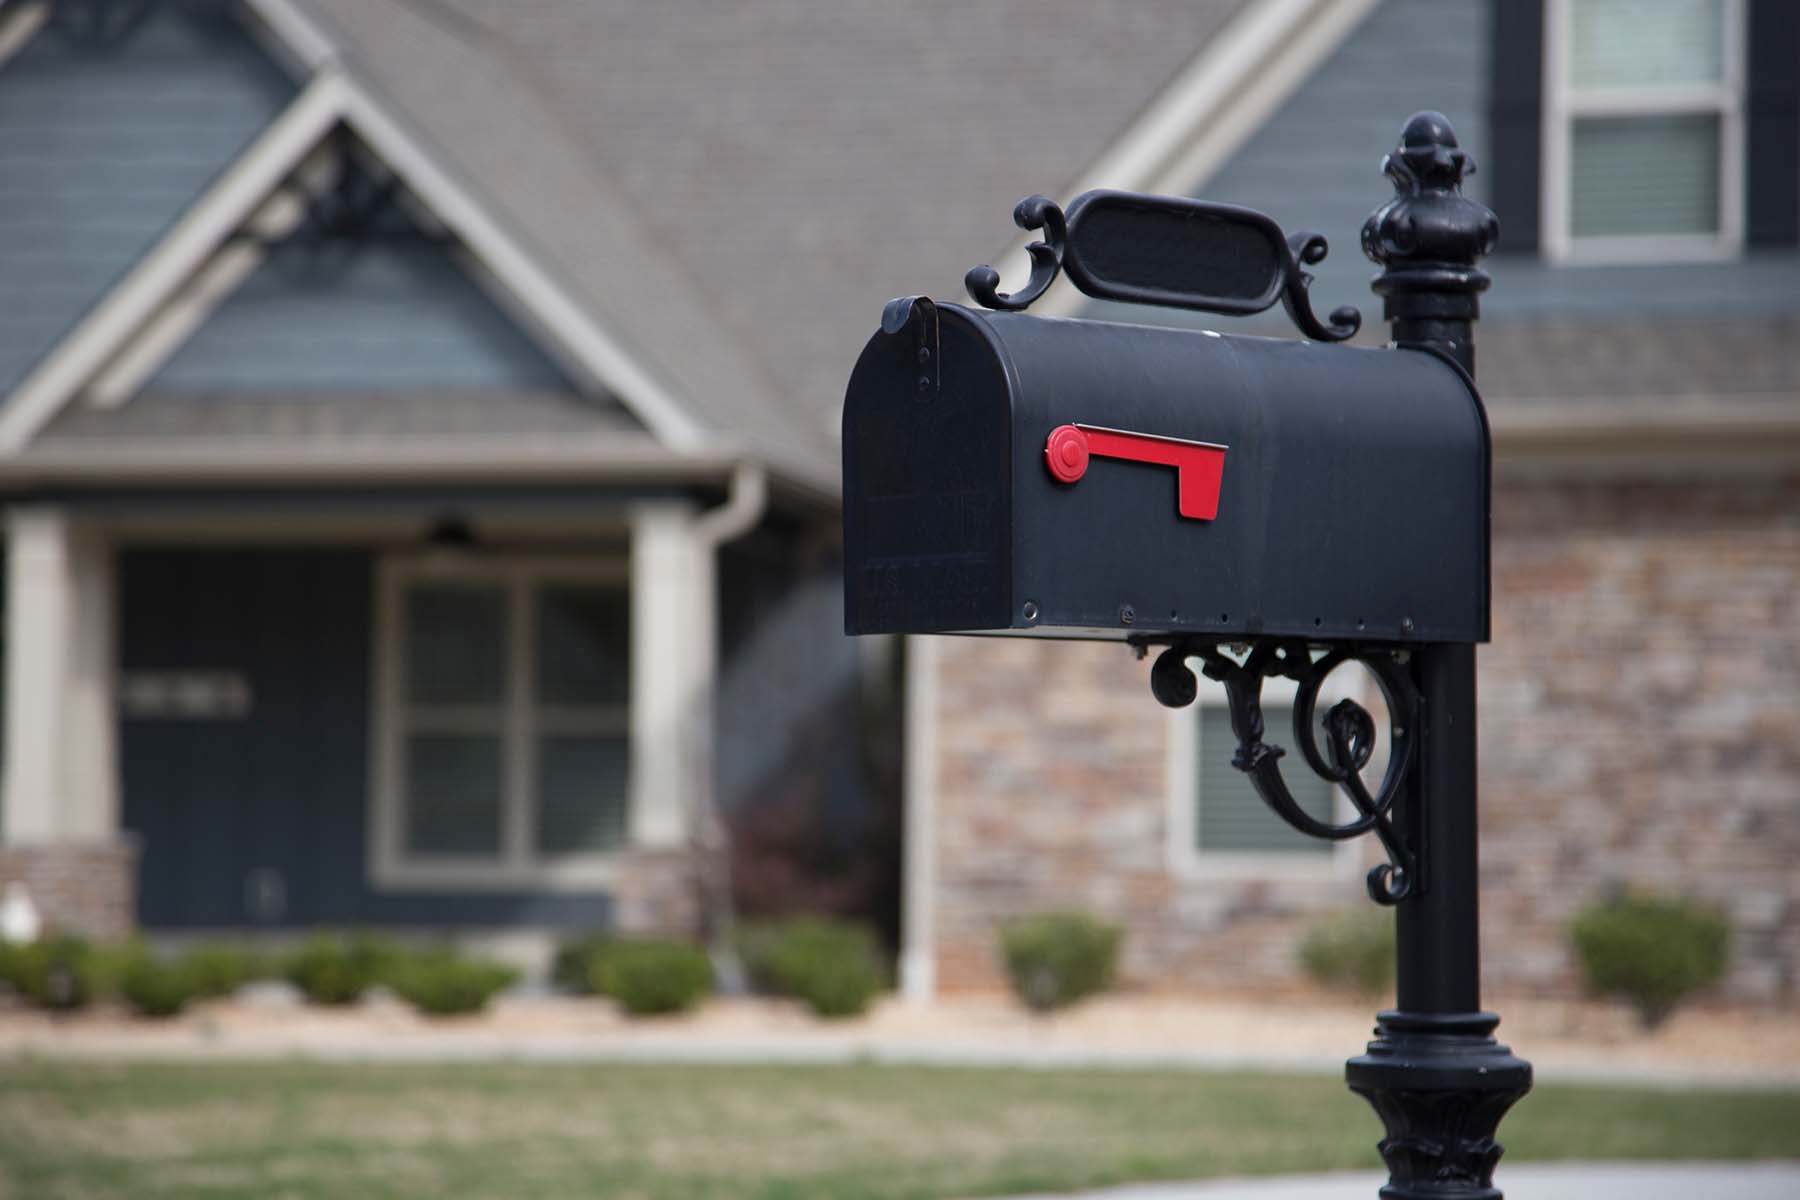
A well-installed mailbox post not only serves its practical purpose but also contributes to the overall curb appeal of your home. If you’re installing a mailbox post on a concrete surface, using Quikrete can provide a reliable and quick solution. In this comprehensive step-by-step guide, we will walk you through the process of installing a mailbox post using Quikrete, ensuring a secure and durable installation that complements your home’s exterior.
Step 1: Gather the Necessary Tools and Materials
Before starting, make sure you have everything you need for the project. The mailbox post itself should be durable and weather-resistant, suitable for your mailbox size and design preferences. You’ll also need Quikrete fast-setting concrete mix, which is ideal for outdoor installations and offers faster curing times. To prepare the hole for the post, a post hole digger is essential. Additionally, you’ll need a level to ensure the post is upright and straight. A mixing container like a large bucket or wheelbarrow will be necessary for preparing the Quikrete, and you should have access to a water source to mix the concrete properly.
Step 2: Prepare the Installation Area
Before beginning any installation, check with your local authorities to ensure you’re complying with any mailbox installation regulations or height restrictions. Once you have the necessary information, mark the exact location for the mailbox post. The position should offer easy access for mail delivery while also considering pedestrian traffic flow. Next, use the post hole digger to create a hole with the appropriate depth and width. Typically, the hole should be one-third the length of the post and around 10-12 inches wide. This ensures a stable foundation for the post.
Step 3: Mix and Pour Quikrete Concrete
Once the hole is ready, it’s time to mix the Quikrete concrete. Start by reading and following the instructions on the Quikrete bag carefully. In the mixing container, add the recommended amount of water to the Quikrete concrete mix. Stir thoroughly until the mixture reaches a smooth, workable consistency. After mixing, insert the mailbox post into the hole, ensuring it’s standing straight and at the correct height. Gradually pour the mixed Quikrete concrete into the hole, filling it up to ground level. Use a shovel or trowel to remove air pockets and ensure the concrete is evenly distributed.
Step 4: Level and Align the Mailbox Post
It’s crucial to ensure the mailbox post is perfectly aligned. Use a level to check the post’s alignment in all directions. If the post is off-center, make slight adjustments by gently tapping it with a rubber mallet to ensure it stands upright and correctly aligned. This step is vital for ensuring a visually appealing and functional mailbox installation.
Step 5: Allow Quikrete Concrete to Set
The next step is allowing the Quikrete to set properly. The recommended curing time for Quikrete is typically around 20 to 40 minutes for the initial set, with the final set taking 4 to 6 hours. During this time, it’s important to avoid disturbing the post or placing any weight on it. This ensures the concrete cures correctly and provides a strong foundation for your mailbox post.
Step 6: Attach the Mailbox
Once the Quikrete concrete has fully cured, you can proceed to attach your mailbox to the post. Be sure to follow the manufacturer’s instructions for securing the mailbox properly. Test the stability of the post and mailbox to ensure it is securely in place and ready for use. A well-installed mailbox post will not only function efficiently but also enhance the aesthetic appeal of your home’s exterior.
Final Thoughts
Installing a mailbox post in concrete using Quikrete is a straightforward and effective process. By following the step-by-step guide, you can achieve a sturdy, long-lasting installation that adds both functionality and curb appeal to your home. With Quikrete’s fast-setting properties, you can enjoy the benefits of a secure mailbox post without the long wait. Take pride in your DIY installation and enjoy the convenience of a well-installed mailbox that complements your home’s charm.