Introduction to Installing Flooring on Concrete
When you install flooring on concrete, it can completely change the look and feel of your home. Whether you’re looking to add the timeless elegance of hardwood, the practicality of laminate, the durability of vinyl, or the versatility of engineered hardwood, the installation process requires some preparation and attention to detail. This guide provides step-by-step instructions for each flooring type to ensure a smooth, long-lasting installation.
Step 1: Preparing the Concrete Surface
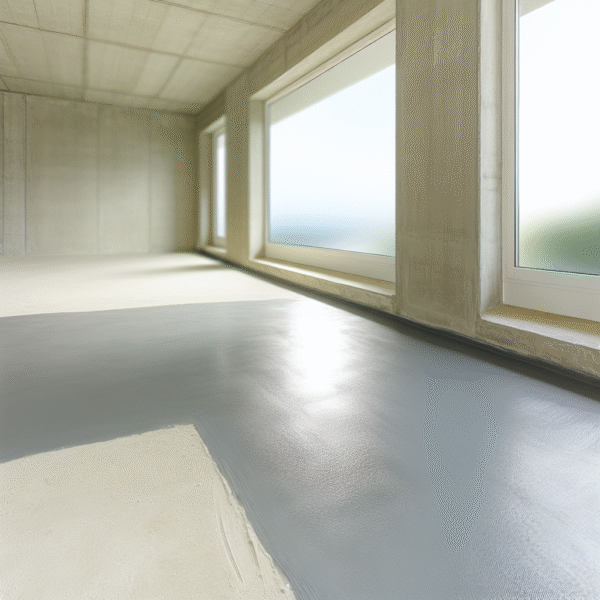
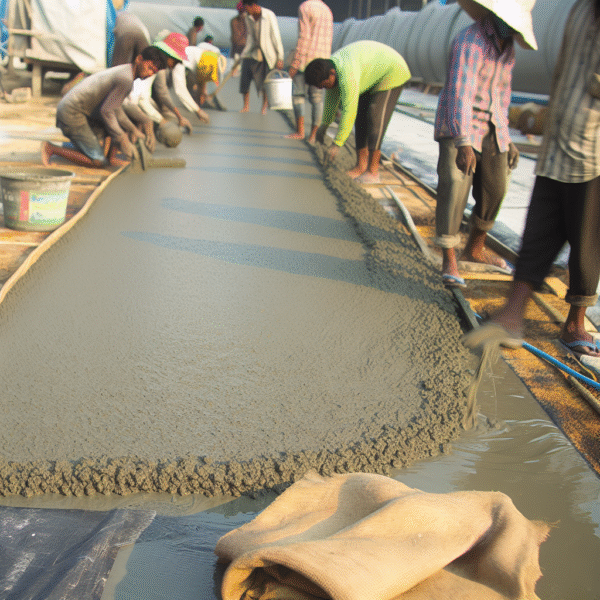
The first crucial step in installing flooring on concrete is to prepare the surface. Begin by thoroughly cleaning the concrete to remove any dirt, debris, or adhesive residues. Sweep, vacuum, or use a damp cloth to ensure that the surface is smooth and free from contaminants. Next, check for moisture. Conduct a moisture test, such as using a moisture meter or the plastic sheet test, to determine if the concrete is dry enough for flooring installation. Excess moisture can cause problems like warping or mold growth, so it’s essential to address this issue before proceeding. Additionally, inspect the concrete for cracks or imperfections. Use a patching compound or leveling compound to fill in any cracks and create an even surface. Allow the patching material to dry and cure as recommended by the manufacturer.
Step 2: Installing a Vapor Barrier
For certain flooring types like laminate and engineered hardwood, installing a vapor barrier is a necessary step. A vapor barrier, such as a plastic moisture barrier or foam underlayment, helps protect the flooring from moisture that may rise from the concrete. This barrier prevents issues such as mold or mildew buildup and ensures the longevity of your flooring. It’s especially important for laminate and engineered hardwood floors, as they are more susceptible to moisture damage compared to other flooring types.
Step 3: Laying the Flooring
Once the surface is prepared, you can begin laying your chosen flooring.
Laminate Flooring Installation:
Start by laying the first row of laminate planks along the longest wall of the room. Leave a ¼-inch expansion gap between the planks and the wall to allow for natural expansion and contraction. Use spacers to ensure consistent gaps around the perimeter. Continue with the subsequent rows, ensuring the joints are staggered for added stability. Once you reach the final row, trim the planks as needed, maintaining the ¼-inch gap along the opposite wall. Install baseboards or molding to cover the expansion gap and complete the look.
Hardwood Flooring Installation:
For solid hardwood, you may need to install a plywood subfloor or a sleeper system over the concrete to provide additional support. Begin installing the first row of planks against the longest wall, using flooring nails or staples. Continue installing rows, interlocking the tongue and groove sides. A mallet and flooring nailer or stapler will make the process smoother. Leave a ¾-inch gap around the perimeter to accommodate expansion. Finally, install baseboards or molding to conceal the gap and finish the installation.
Vinyl Flooring Installation:
Vinyl flooring is a flexible and versatile option for concrete floors. You can install it using a full spread adhesive, double-sided tape, or a loose-lay method with perimeter adhesion. Roll out the vinyl sheet or place vinyl planks according to your chosen method. Trim the edges for a precise fit around doorways and corners, and install baseboards or molding to complete the room’s look.
Engineered Hardwood Flooring Installation:
Engineered hardwood is a durable and stylish choice that can be glued directly to the concrete or floated using a click-and-lock mechanism. Follow the manufacturer’s instructions for installation, ensuring that you achieve a secure fit and maintain the necessary expansion gaps. Install baseboards or molding to cover the gaps and add a polished finish.
Enjoy Your New Flooring
Installing flooring on concrete can be a fulfilling DIY project, transforming your space into a beautiful and functional area. By following this detailed guide, you can confidently install laminate, hardwood, vinyl, or engineered hardwood flooring. Take your time with each step, paying attention to surface preparation, moisture control, and the proper installation technique for your chosen flooring type. With patience and precision, you’ll enjoy a stunning new floor that lasts for years to come.


