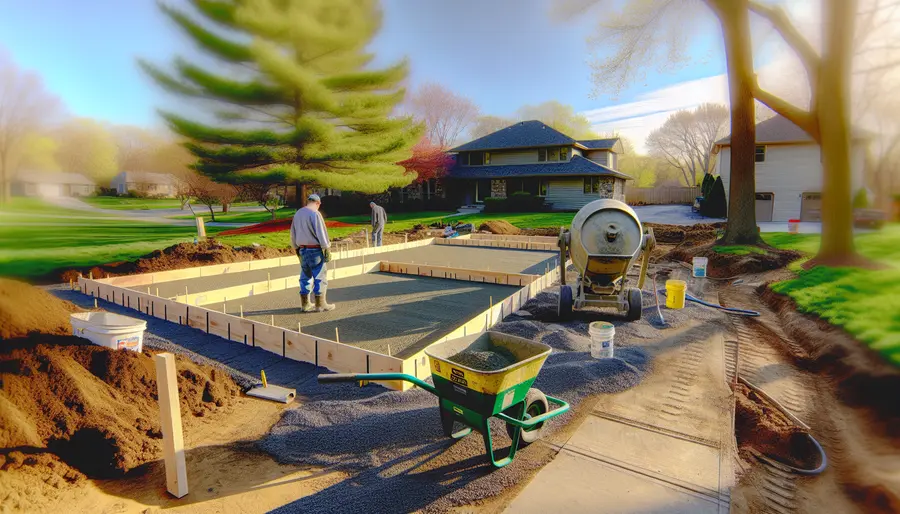
Concrete driveway tools are essential when undertaking a home improvement project like pouring a concrete driveway. Having the appropriate tools can distinguish between a successful job and a struggle. Laying a solid, durable driveway involves more than just mixing concrete and pouring it into a mold. It requires precision, planning, specific materials, and the proper tools. In this comprehensive guide, we explore essential tools and share best practices for ensuring the longevity and quality of your concrete driveway.
Planning and Preparation
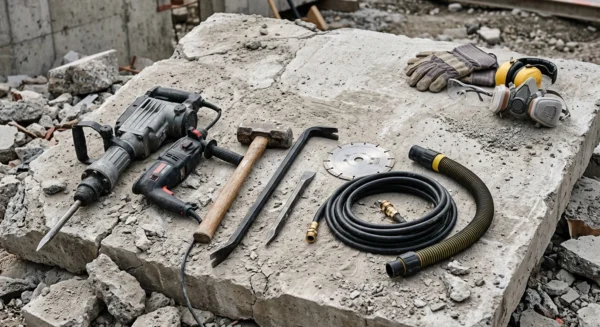
Preparation plays a crucial role in determining success before beginning the hard work of pouring. Start by assessing the specific needs of your site. Consider factors like soil type, climate conditions, and drainage. Proper compaction of the soil prevents future settling, usually involving a mechanical plate compactor for larger areas. Correct slope measurements of the driveway must be taken to ensure proper water runoff and adherence to local building codes.
A builder’s level or laser level is indispensable at this stage, ensuring an accurate slope for drainage. Use staking and string lines to mark the area, providing a clear indication of driveway boundaries. Consulting local code requirements before starting any concrete driveway project is essential to ensure compliance regarding design and materials.
Choosing and Using Concrete Mixing Tools
Once the groundwork is set, focus shift to the concrete mix. The decision between ready-mix concrete and mixing your own depends on project size and resources. For smaller home-based projects, a portable concrete mixer offers efficiency and consistency. Proper mix proportions are critical. A typical driveway mix might be 3000 to 4000 PSI with a slump of 4 to 5 inches, ensuring ease of placement without sacrificing strength.
Integral to your concrete driveway tools are items like mixing vats, wheelbarrows, and shovels. While a cement mixer handles most mixing duties, wheelbarrows transport the mix to various pour sites. For smaller areas or touch-ups, a simple mixing tub and hoe can suffice.
Tools for Placement and Pouring
Pouring concrete requires a strategic approach and specific tools. Start with concrete rakes and come-alongs to spread the mix evenly. These tools help fill voids and ensure a level surface before setting begins. Additionally, a vibrator reduces air pockets during the pour, enhancing the driveway’s structural integrity.
Removable forms, usually constructed from wood, contain the concrete during the pour and define its shape. They should be robust and properly anchored to prevent bowing under pressure. Using edge liners in the forms can add decorative detail, improving curb appeal and reducing visible seams.
Finishing Tools for Professional Results
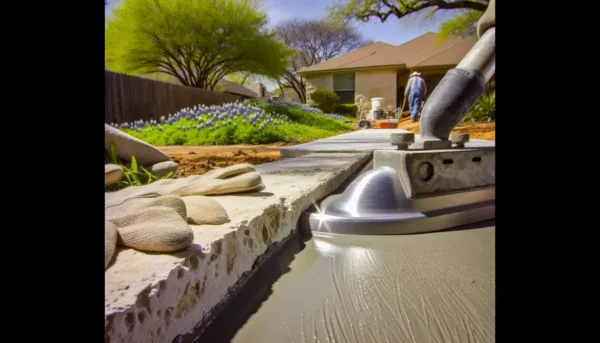
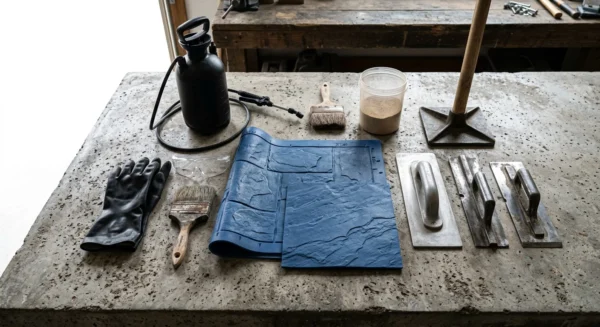
A smooth, durable surface is key to a well-finished driveway. Float tools such as bull floats and magnesium hand floats are essential for leveling and smoothing the surface. After initial leveling, use trowels to refine the surface texture. Steel and finishing trowels embed lingering aggregates and work out imperfections.
An edger and a groover introduce controlled joins and smooth edges, preventing random cracking and enhancing appearance. For a non-slip surface, a broom finish can be applied during the final curing stages.
Curing and Protection Techniques
Proper curing is vital for concrete strength and longevity. After finishing, protecting the slab from rapid moisture loss is essential. Use curing blankets or compound sprays to slow evaporation, preventing cracking. The curing period can range from 7 to 28 days depending on temperature and mix specifics.
Continuous monitoring and adjustments to curing techniques are recommended, especially in adverse weather. In temperatures below 50°F, thermal blankets may be necessary. In hot conditions, periodic misting can prevent rapid evaporation.
Common Pitfalls and Solutions
Common issues like surface scaling or cracking can occur despite best practices. Cracking often results from insufficient base preparation or curing, while spalling usually results from freezing and thawing cycles. Address these by ensuring compacted, well-drained subgrades and appropriate curing strategies.
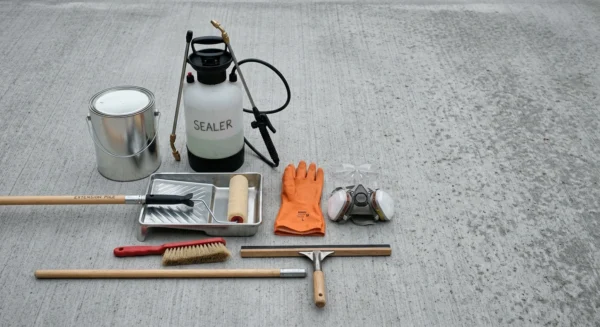
A frequent oversight is neglecting hairline cracks that can expand over time. Using sealants prevents moisture ingress and enhances long-term resilience. Applying a sealer post-curing provides additional aesthetic and practical protection.
Constructing a concrete driveway at home presents challenges and rewards. With careful planning, the right concrete driveway tools, and adherence to rigorous standards, achieving professional-grade results is possible. Understanding how to optimize each tool’s use ensures a driveway that stands up to the test of time.