How to Repair Concrete Steps: A Comprehensive DIY Guide
Concrete steps are a durable and functional feature of many homes, providing both access and curb appeal. Over time, however, they may suffer from cracks, chips, or other forms of damage due to weather, heavy foot traffic, or improper installation. Fortunately, to repair concrete steps it is a feasible DIY project that can restore their safety and appearance. In this guide, we will walk you through the process of repairing concrete steps, giving you the knowledge and confidence to take on this project yourself.
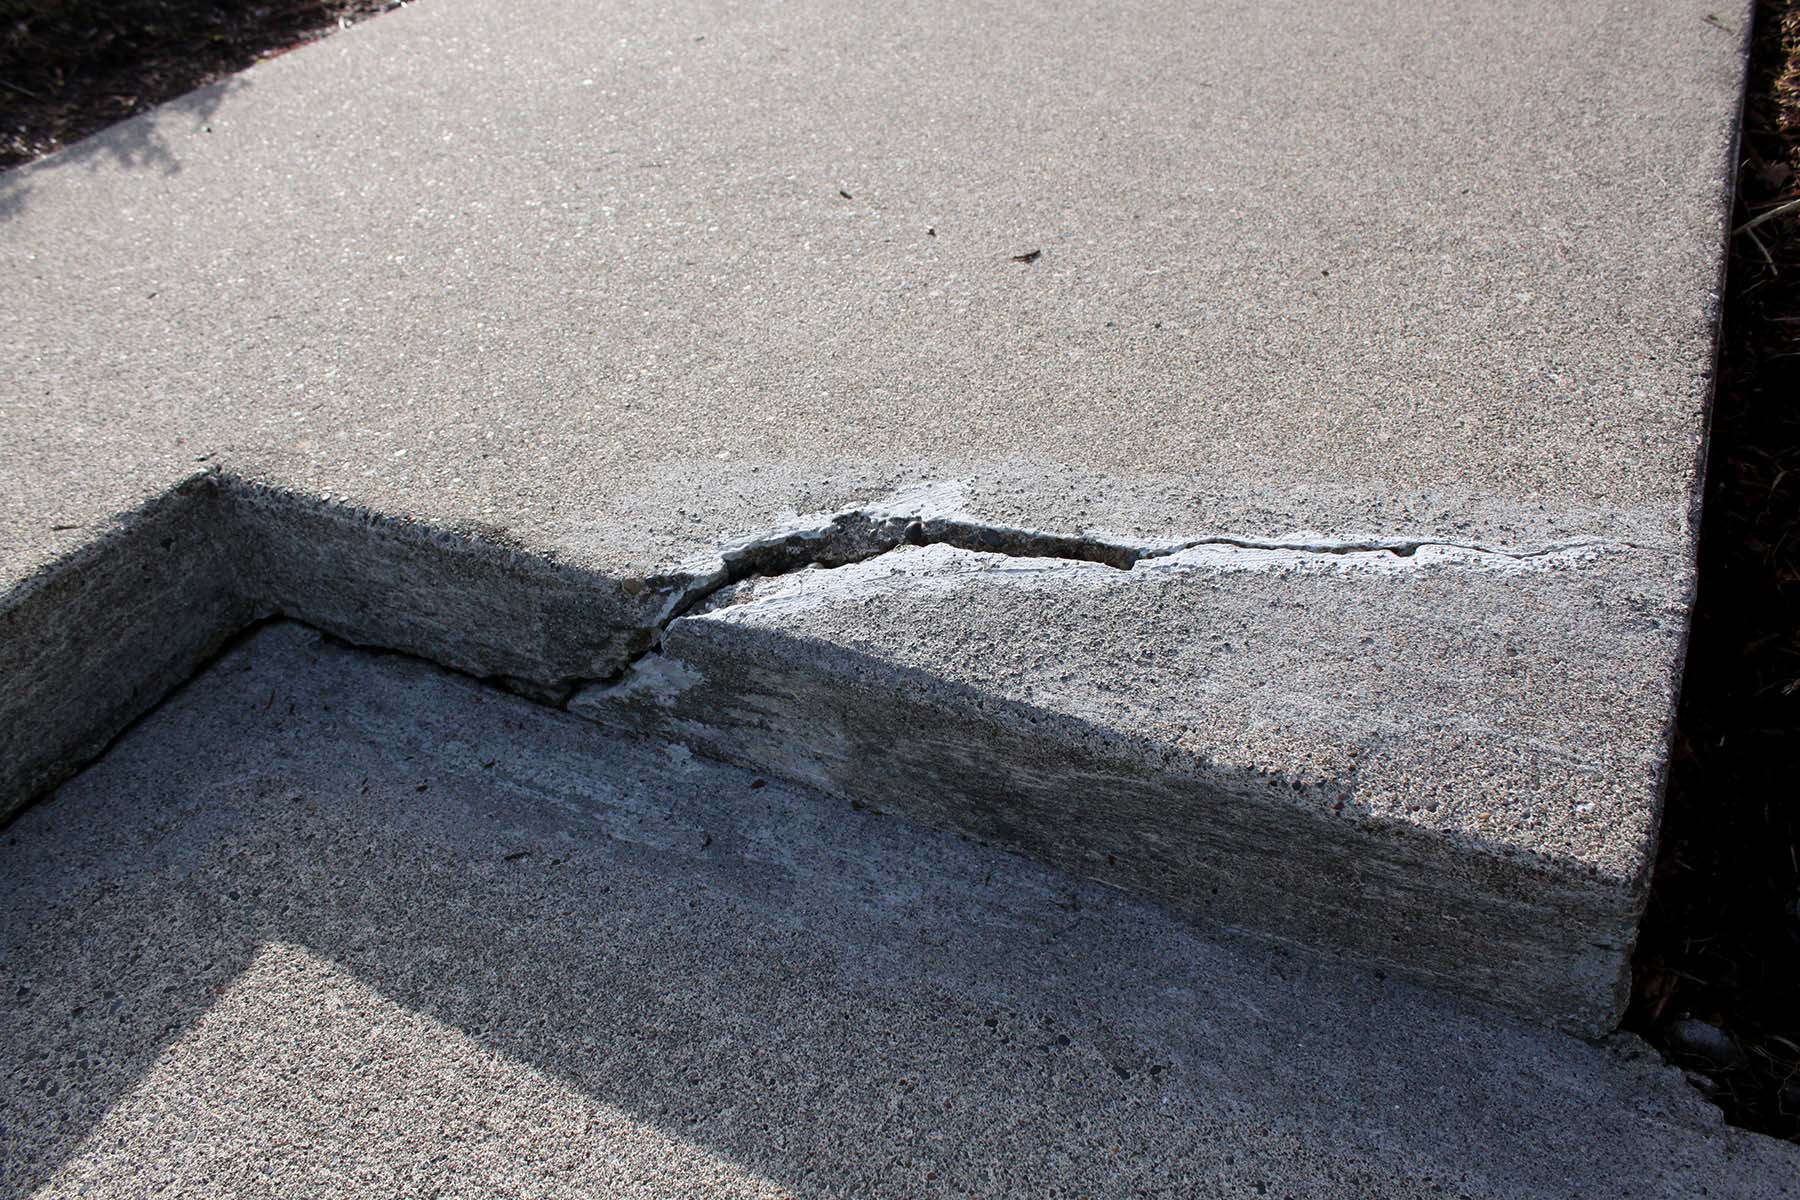
Step 1: Assess the Damage
The first step in repairing concrete steps is to thoroughly inspect them for any signs of damage. Common issues include hairline cracks, chips, spalling (flaking or crumbling of the surface), and uneven surfaces. Examine each step carefully to determine the extent of the damage, taking note of areas that require immediate attention. Once you’ve identified the visible damage, it’s important to determine the cause. Was the damage caused by freeze-thaw cycles, heavy foot traffic, or improper installation? Understanding the root cause is essential, as it helps prevent future damage and allows you to address any underlying issues.
Step 2: Clean the Steps
Cleaning the steps before starting the repair work is crucial for ensuring that the repair materials adhere properly. Begin by removing any dirt, debris, or vegetation that may have accumulated on the surface of the steps. A broom or brush can be used to clear loose debris, but for a deeper clean, consider using a pressure washer to remove any stubborn dirt or grime. If the steps have noticeable stains or discoloration, apply a concrete cleaner or a mild solution of water and detergent to eliminate them. After cleaning, rinse the steps thoroughly and allow them to dry completely before moving forward with the repairs.
Step 3: Repair Cracks and Chips
Once the surface is clean and dry, it’s time to address the cracks and chips in the concrete steps. For hairline cracks, a concrete crack filler is the best solution. You can apply the filler with a caulk gun or a squeeze bottle, smoothing the filler with a putty knife to ensure it fills the crack completely. Allow the filler to dry as per the manufacturer’s instructions. For larger cracks, use a concrete patching compound. Start by cleaning the crack and dampening it with water to help the patch bond properly. Press the patching compound into the crack, smoothing it over the surface to match the surrounding concrete.
For chips and areas of spalling, you will need a patching compound designed for these specific issues. Apply the compound evenly, feathering the edges to ensure a seamless repair that blends in with the rest of the concrete surface.
Step 4: Repair Uneven Surfaces
In some cases, your concrete steps may have uneven surfaces that need leveling. This can be caused by settling, wear, or other factors. To repair uneven surfaces, use a self-leveling concrete overlay. This product is designed to create a smooth, level finish over uneven or damaged concrete. Carefully follow the manufacturer’s instructions for mixing and applying the overlay. Once applied, the self-leveling compound will spread out and create a flat surface, restoring the appearance and functionality of the steps.
Step 5: Seal the Steps
After completing all the repairs and allowing the concrete to cure fully, it’s important to apply a high-quality concrete sealer. Sealing the steps protects them from water damage, stains, and the effects of weathering. Choose a sealer designed specifically for concrete and follow the manufacturer’s guidelines for application. A sealer not only enhances the durability of the steps but also gives them a polished, finished look.
Step 6: Regular Maintenance
To keep your repaired concrete steps in good condition, regular maintenance is essential. Periodically inspect the steps for any signs of new damage, such as cracks or chips, and address any issues promptly to prevent further deterioration. Keeping the steps clean is also important—regularly remove debris and dirt to maintain their appearance and prevent the buildup of moisture that could lead to additional damage. By performing regular maintenance, you can help ensure that your concrete steps remain safe and attractive for years to come.
Final Thoughts
Repairing concrete steps is a manageable DIY project that not only saves you money but also helps restore the safety and beauty of your property. With the right tools, materials, and a little effort, you can successfully repair cracks, chips, and uneven surfaces. By following this step-by-step guide and performing regular maintenance, your concrete steps will continue to serve as a durable and attractive feature of your home.