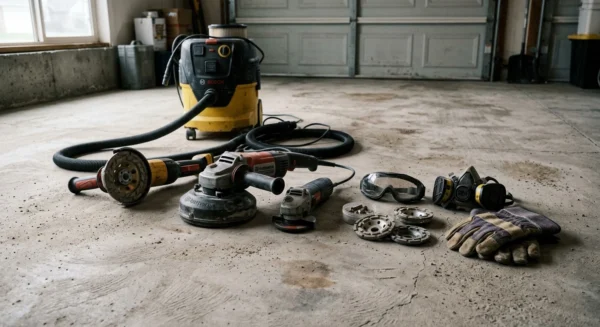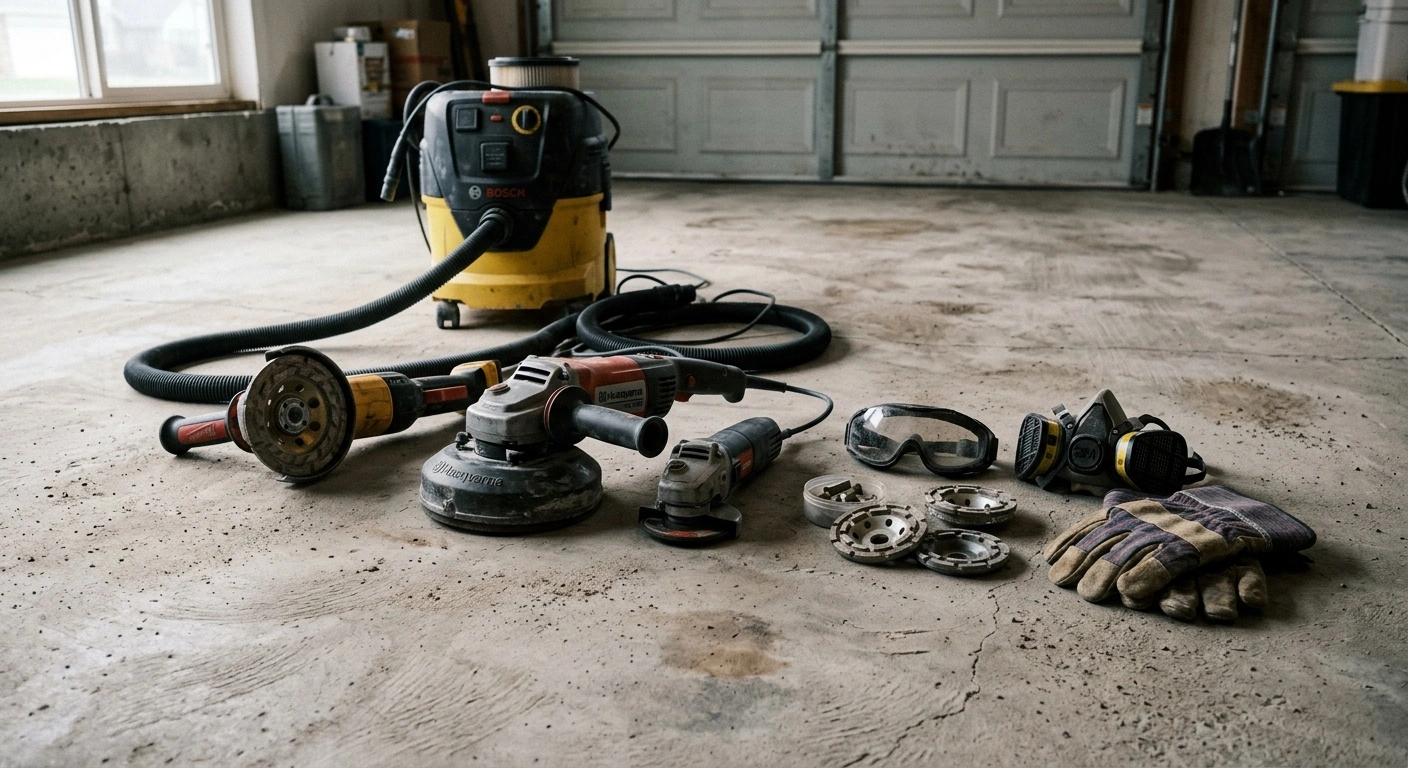
Concrete grinding tools remove coatings, flatten high spots, expose aggregate, and prepare slabs for a new finish. The right tool depends on the concrete, grinder, coating, and desired surface profile.
Choosing by grit alone often leads to slow cutting or excessive wear. Start with the job requirements, then match the diamond bond and segment design to the slab.
How Concrete Grinding Tools Work
Most grinding tools use industrial diamonds held inside a metal, resin, or hybrid bond. As the bond wears, it exposes fresh diamonds that continue cutting the surface.
The bond must wear at a controlled rate. If it wears too slowly, the tool glazes and stops cutting. If it wears too quickly, the diamonds disappear before they deliver reasonable service life.
Metal-Bond Diamonds
Metal-bond segments handle aggressive stock removal and early grinding stages. Contractors use them to remove minor surface defects, flatten uneven areas, and prepare concrete for polishing.
Lower grit numbers cut more aggressively. Common starting points include 16, 30, or 40 grit, depending on the slab and the amount of material to remove.
Resin-Bond Diamonds
Resin pads refine the scratches left by metal tools. They produce progressively smoother surfaces during honing and polishing.
A typical polishing sequence may move through 50, 100, 200, 400, 800, and higher grits. However, the required finish determines where the sequence should stop.
Hybrid and Transitional Tools
Hybrid tools bridge the gap between metal and resin stages. They remove deeper metal scratches without leaving marks that require several resin steps to correct.
These tools can shorten a polishing sequence, but only if the previous grinding stage leaves a consistent scratch pattern. Deep, isolated scratches still need correction before polishing continues.
Match the Bond to the Concrete
Hard concrete generally needs a softer bond. The softer matrix wears fast enough to expose new diamonds as the old ones dull.
Soft or abrasive concrete usually needs a harder bond. A hard matrix holds the diamonds longer and reduces premature tool wear.
This relationship may seem backward at first. In practice, matching the bond to slab hardness has a larger effect on production than choosing between nearby grit sizes.
Check Slab Hardness Before Grinding
Use a concrete hardness test kit or perform a small test grind. Watch the scratch pattern, cutting speed, segment wear, and dust produced during the test.
A glazed segment often leaves the grinder running without meaningful material removal. Excessive segment loss points to a bond that is too soft for the slab.
Choose the Right Segment Design
Segment shape affects cutting speed, scratch depth, and tool stability. Large segments offer longer life, while smaller contact areas usually create a more aggressive cut.
Single- and Double-Segment Shoes
Single-segment shoes concentrate pressure over a smaller area. They work well for aggressive removal, especially on smaller grinders with limited weight.
Double-segment shoes spread the load and help the machine run more smoothly. They suit general surface preparation and larger planetary grinders.
Arrow, Bar, and Round Segments
Arrow segments cut through coatings and direct debris away from the working edge. Bar segments provide steady contact for general grinding and leveling.
Round segments move smoothly across the slab and reduce gouging. The best shape still depends on machine weight, rotation, and surface condition.
PCD Scrapers
Polycrystalline diamond tools, commonly called PCDs, strip thick adhesives, elastomeric coatings, and some epoxy systems. Their sharp cutting edges scrape rather than grind.
Do not use PCDs as standard finishing diamonds. They can leave deep marks, so follow them with metal-bond tools before applying a thin coating or polish.
Select Grit by the Required Surface
Coarse grits remove material quickly but leave visible scratches. Fine grits refine the surface rather than correct major height differences or coating residue.
Start with the least aggressive grit that can complete the required cut at a practical rate. An unnecessarily coarse tool creates extra scratches and adds correction steps.
- 6 to 16 grit: Heavy coating removal, severe lippage, and aggressive stock removal.
- 20 to 40 grit: General grinding, surface flattening, and early polishing stages.
- 60 to 120 grit: Scratch refinement and lighter surface preparation.
- 200 grit and above: Honing and polishing after the slab has been flattened.
These ranges provide a starting point rather than a fixed rule. Tool design, grinder weight, concrete hardness, and operator speed all affect the final scratch pattern.
Match Tools to the Grinder
Check the grinder’s plate style, rotation direction, speed range, and power before ordering tooling. A segment designed for a heavy planetary machine may perform poorly on a light single-disc grinder.
Confirm that each shoe locks securely into the holder. Loose or incompatible tooling can damage the plate and create an uneven finish.
Machine Weight and Down Pressure
Heavy grinders place more pressure on each segment and often cut faster. However, excessive pressure can overload the motor or make soft-bond tools wear too quickly.
Light machines may need more aggressive segments or fewer segments per plate. Test a small area before committing to the full floor.
Rotation and Tool Direction
Some PCDs and directional segments cut only when installed in the correct orientation. Check the manufacturer’s rotation markings before starting the grinder.
Incorrect installation reduces production and may damage the cutting edge. It can also make the machine harder to control.
Use Dust Control and Safe Work Practices
Concrete grinding can release respirable crystalline silica. Use a grinder shroud connected to a properly sized dust extractor with suitable filtration.
Inspect hoses, seals, and filters before each shift. Poor airflow allows dust to escape and can shorten tool life by trapping debris under the segments.
Wear the respiratory, eye, hearing, hand, and foot protection required for the task. Follow the grinder, tooling, and dust extractor manufacturers’ instructions.
Get Better Results From Concrete Grinding Tools
Run a test section before grinding the entire slab. Record the bond, grit, segment type, machine settings, production rate, and tool wear.
Keep the grinder moving at a steady pace and overlap each pass. Crosshatch the floor on later passes to remove directional scratches and improve consistency.
Inspect the surface between grits under good lighting. Do not move to the next step until the current grit removes the previous scratch pattern.
Clean and Inspect Tooling
Remove compacted dust from holders and check each segment for uneven wear. Replace damaged or badly worn tools before they affect the grinder plate.
Store concrete grinding tools in labeled sets by bond and grit. Clear labeling prevents mixed grits, which can leave deep scratches late in the finishing process.
A Practical Tool Selection Plan
Identify the coating, slab hardness, required finish, and grinder specifications first. Then choose the bond, segment design, and starting grit based on those conditions.
Test the setup on a small section and adjust one variable at a time. This method reduces wasted tooling and produces a more consistent surface across the floor.