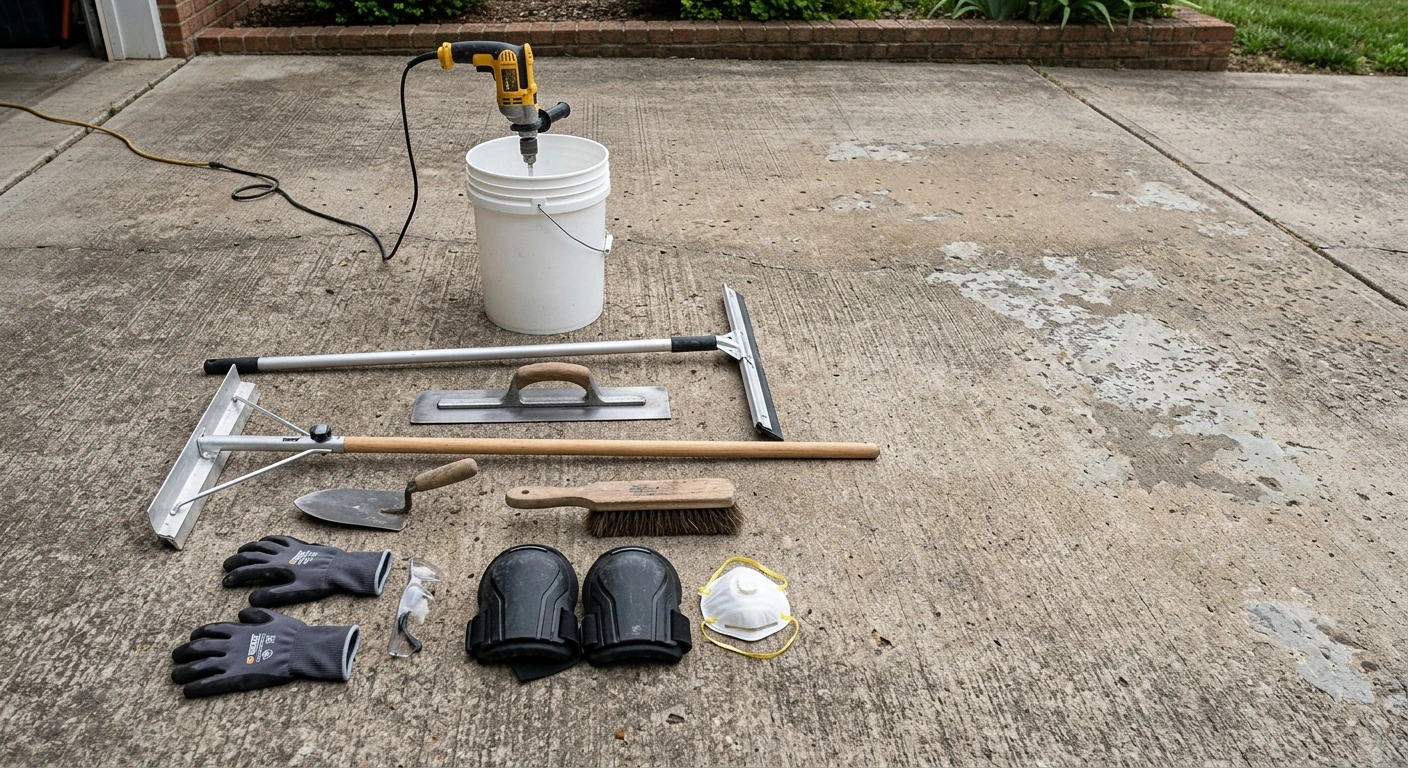
Concrete resurfacing tools determine how well a new overlay bonds, levels, and cures. The right setup helps you remove weak concrete, control dust, and apply material at a consistent depth.
Tool needs vary by slab condition and resurfacing product. Always check the product data sheet before choosing preparation and application equipment.
Essential Concrete Resurfacing Tools
Most resurfacing jobs require tools for cleaning, surface preparation, mixing, placement, and finishing. Contractors may use heavier equipment on damaged or coated slabs.
Cleaning Equipment
Concrete must stay free of dirt, oil, curing compounds, and loose material. Contaminants can prevent the resurfacer from bonding to the slab.
- Pressure washer: Use a unit with enough power to remove dirt and weak surface material.
- Stiff-bristle broom: Scrub corners, edges, and textured areas that the pressure washer may miss.
- Wet vacuum: Remove standing water and slurry before applying repair products.
- Degreaser: Treat oil spots with a concrete-safe cleaner and rinse the area thoroughly.
A pressure washer alone may not remove paint, sealer, or sound surface paste. Those conditions usually require mechanical preparation.
Mechanical Surface Preparation Tools
A resurfacer needs a clean, open concrete profile. Grinders, scarifiers, and shot blasters remove coatings while creating texture for mechanical bond.
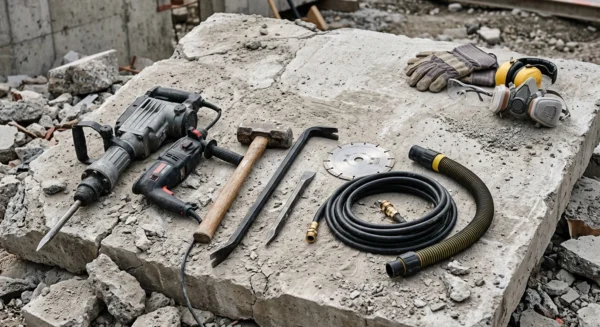
- Concrete grinder: Use diamond tooling to remove coatings, smooth high spots, and open the surface.
- Handheld angle grinder: Prepare slab edges, steps, corners, and other tight areas.
- Scarifier: Remove thicker coatings or uneven concrete with rotating cutting drums.
- Shot blaster: Prepare larger floors quickly while collecting most dust and debris.
- HEPA dust extractor: Connect it to grinders and other compatible equipment to control airborne silica dust.
Match the surface profile to the resurfacer manufacturer’s requirements. Excessive grinding can leave deep marks, while light preparation may produce a weak bond.
Crack and Spall Repair Tools
Repair cracks, holes, and broken edges before placing the resurfacing layer. Do not expect a thin overlay to correct moving joints or structural damage.
- Crack chaser: Open cracks to the width and depth required by the repair material.
- Cold chisel and hammer: Remove loose concrete around small spalls and damaged edges.
- Pointing trowel: Place patching compound into cracks, pits, and narrow repairs.
- Margin trowel: Mix small batches and shape repair material along edges.
- Caulk gun: Apply compatible joint or crack filler from cartridges.
Honor active control and expansion joints through the new surface. Covering them can cause random cracking as the slab moves.
Mixing Tools for Consistent Resurfacer
Accurate mixing affects flow, working time, strength, and color. Measure water rather than estimating it by eye.
- Clean mixing buckets: Keep separate buckets for measured water and mixed resurfacer.
- Heavy-duty drill: Use a drill that can handle the product’s required batch size.
- Mixing paddle: Choose the paddle style recommended by the material manufacturer.
- Measuring container: Add the specified amount of clean, potable water to every batch.
- Timer: Track mixing, rest, and application times accurately.
Mix at the recommended speed to limit trapped air. Scrape the bucket sides during mixing so dry powder does not remain in the batch.
Do not add water after the resurfacer begins to stiffen. Extra water weakens the material and may cause dusting, discoloration, or early failure.
Application and Finishing Equipment
Choose placement tools based on the product thickness and desired texture. Keep every tool clean because hardened material can drag through a fresh overlay.
- Gauge rake: Spread self-leveling or flowable material at a controlled depth.
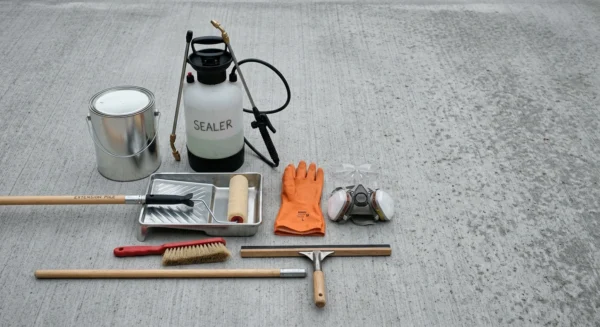
- Long-handled squeegee: Move thin resurfacer across driveways, patios, and walkways.
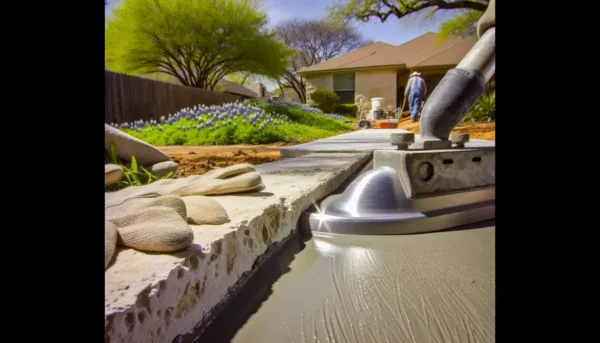
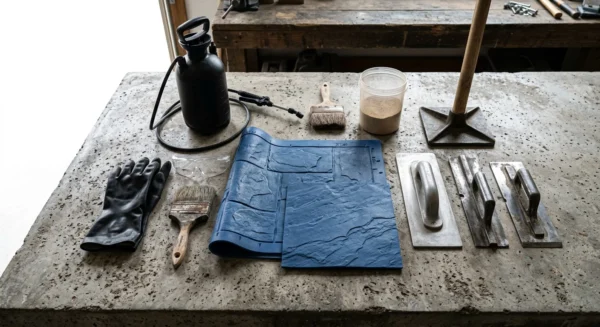
- Steel finishing trowel: Smooth repair areas and products designed for a troweled finish.
- Magic trowel: Reduce ridges and tool marks on compatible overlays.
- Concrete broom: Create slip-resistant texture before the material sets.
- Chip brushes: Coat edges and place material around posts, drains, or obstacles.
Plan the pour before mixing starts. Assign one person to mix while another places and finishes the material on larger jobs.
Maintain a wet edge between batches. Cold joints can leave visible lines and may create weak points in the finished surface.
Safety Gear and Site Protection
Concrete preparation releases silica dust, chips, noise, and alkaline slurry. Use suitable protective equipment and follow the tool manufacturer’s instructions.
- NIOSH-approved respirator suitable for silica exposure
- Safety glasses or a face shield
- Hearing protection
- Alkali-resistant gloves
- Long sleeves and work trousers
- Steel-toe, slip-resistant boots
- Knee pads for hand-finishing tasks
Use plastic sheeting and masking tape to protect doors, walls, landscaping, and drains. Keep wash water and concrete slurry out of stormwater systems.
How to Choose Concrete Resurfacing Tools
Start with the slab size, condition, and existing finish. A clean residential walkway may need basic washing and grinding equipment.
A coated commercial floor may require shot blasting and industrial dust collection. Deep damage may also call for scarifying, patching, or professional structural evaluation.
Rental equipment can reduce costs on a single project. Inspect rental grinders, shrouds, hoses, and diamond tooling before leaving the store.
Confirm that replacement blades or abrasives remain available during the job. Worn tooling slows preparation and can leave an uneven profile.
Prepare the Tools Before Mixing
Stage water, buckets, extension cords, and finishing tools before opening the resurfacer. Test power supplies and keep cords away from wet work areas.
Clean equipment between batches and keep spare buckets nearby. Once mixing begins, delays can cause ridges, color changes, and discarded material.
Well-chosen concrete resurfacing tools support a sound bond and an even finish. Careful preparation still matters more than speed, so address every weak area before application.