Concrete paver molds offer a gateway to boundless creativity, allowing you to craft custom, visually stunning pavers that enhance your outdoor spaces. Whether you’re looking to add a unique flair to your garden or completely transform your patio with personalized designs, concrete molds make it possible to explore endless design possibilities. These molds enable you to design pavers that suit your style and blend seamlessly into your landscape.
Versatility and Options with Concrete Paver Molds
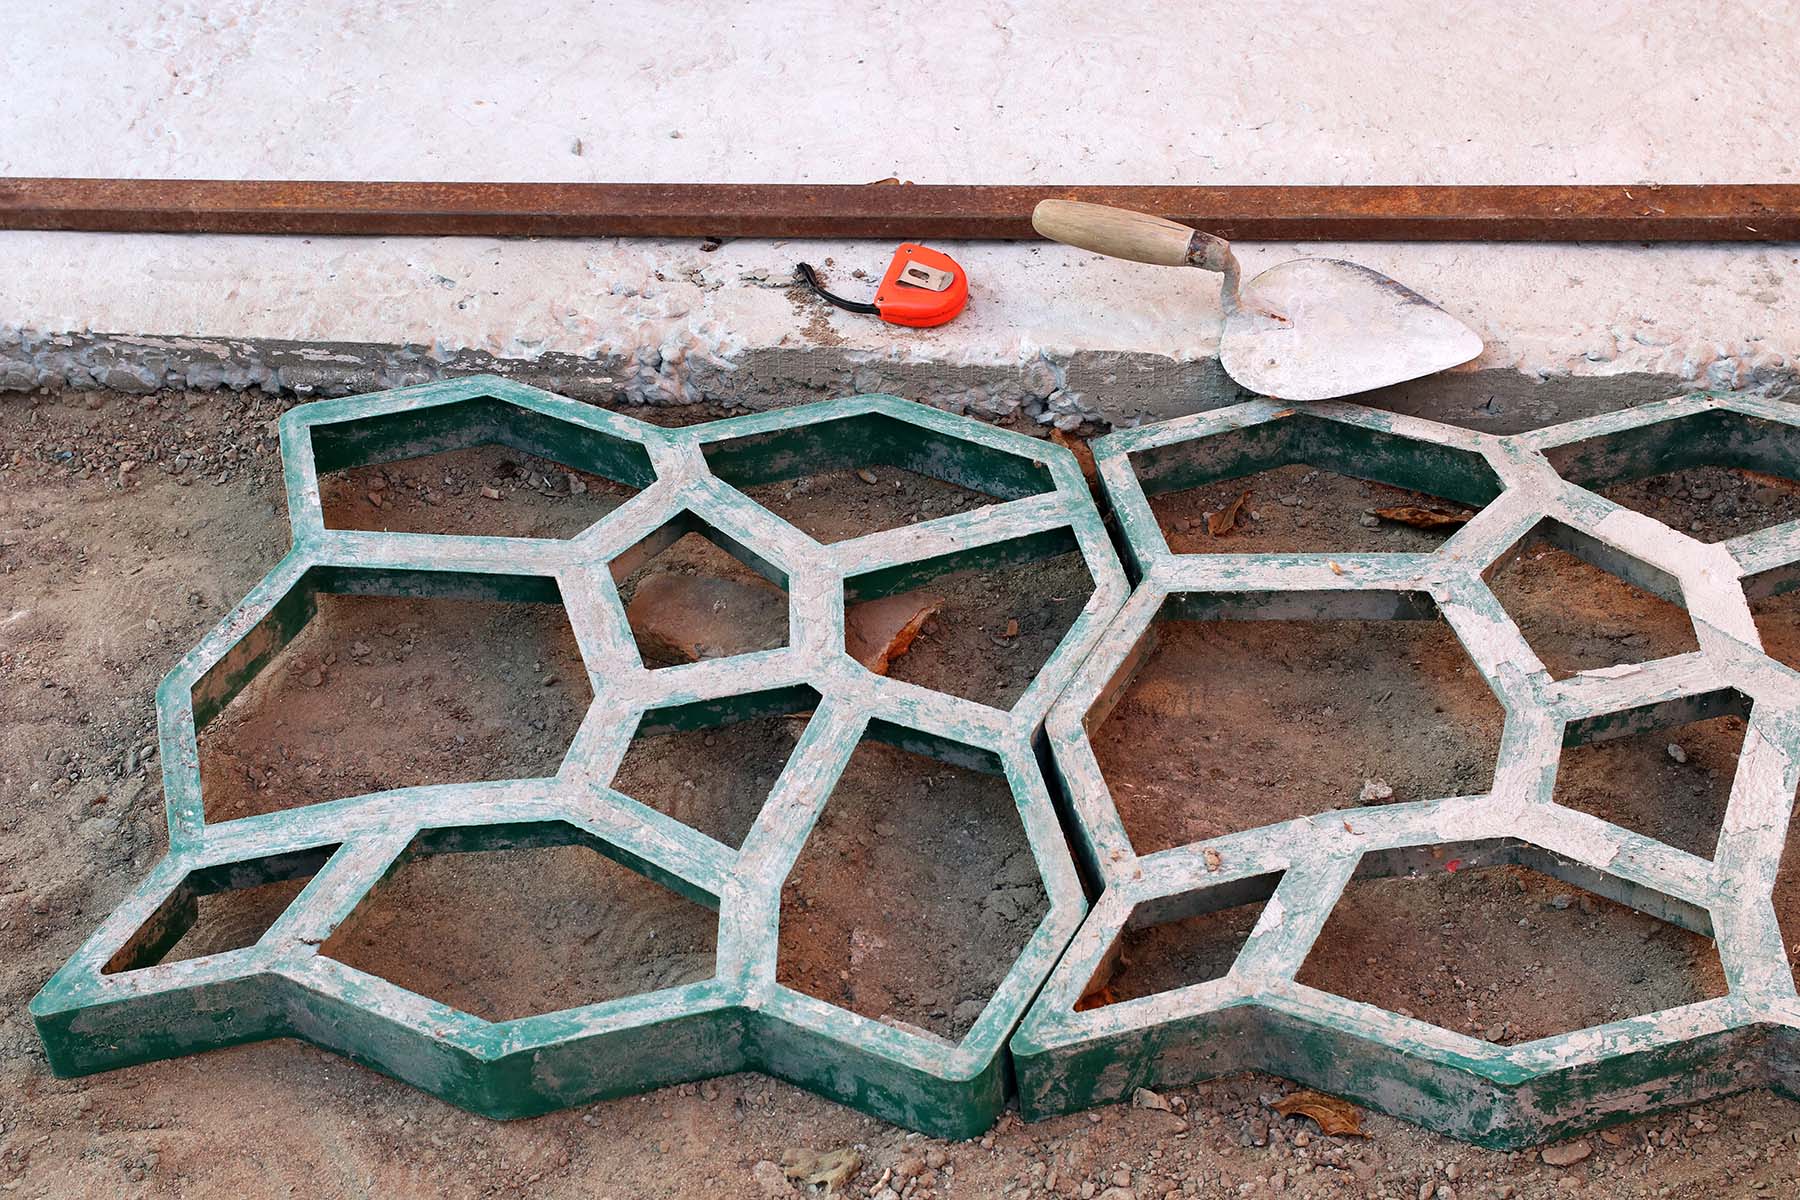
Concrete paver molds come in a wide range of shapes and sizes. From squares and rectangles to circular and irregular patterns, there is a mold to suit every design need. The versatility of concrete molds allows you to match the style of your existing landscaping, making them an excellent choice for various outdoor applications.
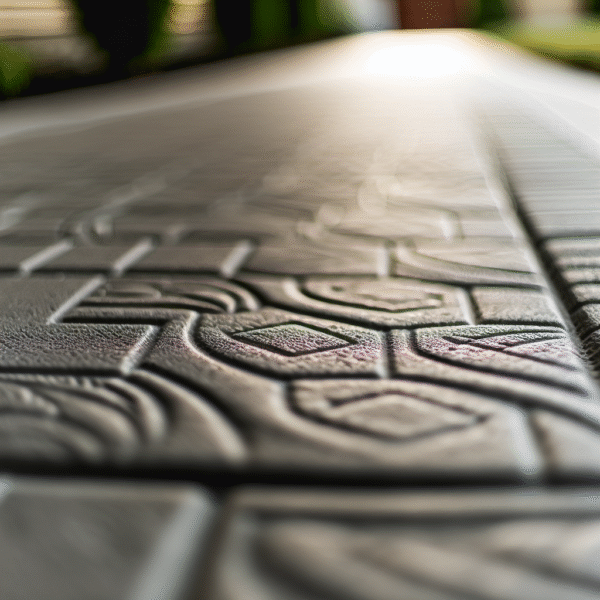
Additionally, paver molds offer a variety of textures and surface designs. Whether you prefer a smooth, polished finish or the rustic, natural look of stone, there’s a mold for every aesthetic. Textured molds, in particular, let you replicate the appearance of traditional materials like cobblestones or flagstones, adding character and charm to your outdoor space.
Personalization is another key benefit. Concrete paver molds give you the freedom to customize your pavers with intricate designs, logos, or monograms. This allows you to create a unique identity for your outdoor area, making it truly your own.
Design Ideas to Elevate Your Outdoor Space
Concrete paver molds open up a world of creative possibilities for your landscape. One popular design idea is creating pavers that replicate the look of natural stones. Molds that mimic slate, limestone, or sandstone give your space an authentic and rustic feel. For those who appreciate elegance and sophistication, stamped patterns can be incorporated into the concrete, adding texture and style.
You can also experiment with color accents by adding pigments or concrete stains to the mix. This allows you to introduce vibrant hues or subtle tones, giving your pavers a unique, colorful finish. For an extra touch of creativity, you can embed decorative aggregates such as glass beads, seashells, or even pebbles into the concrete for striking focal points. Geometric arrangements offer another modern design option, creating a contemporary and sleek appearance for your outdoor surfaces.
Step-by-Step Guide to Crafting Concrete Pavers
Creating your own concrete pavers is a simple and satisfying process. Start by preparing your casting surface—ensure it is clean, level, and free from any debris or imperfections. Before pouring the concrete, apply a suitable release agent to the molds, such as mold release spray or even vegetable oil, to prevent the concrete from sticking.
Next, mix a high-quality concrete blend according to the manufacturer’s instructions. Once your mixture is ready, carefully fill the molds with the concrete, ensuring it is evenly distributed and free from air pockets. A gentle vibration can help eliminate trapped air bubbles and create a smooth surface.
Allow the concrete to cure in the molds for the recommended time, which is typically between 24 and 48 hours. After curing, gently remove the pavers from the molds, taking care not to damage them. To protect the pavers and enhance their appearance, you can apply a sealant or finish.
Final Thoughts
Concrete paver molds provide an exciting and creative way to enhance your outdoor spaces. From replicating natural stone to incorporating stamped patterns, colored accents, and embedded aggregates, these molds allow you to design unique and personalized pavers for your patio, garden, or walkway. With a little creativity and the right materials, you can craft beautiful, durable pavers that transform your outdoor oasis.