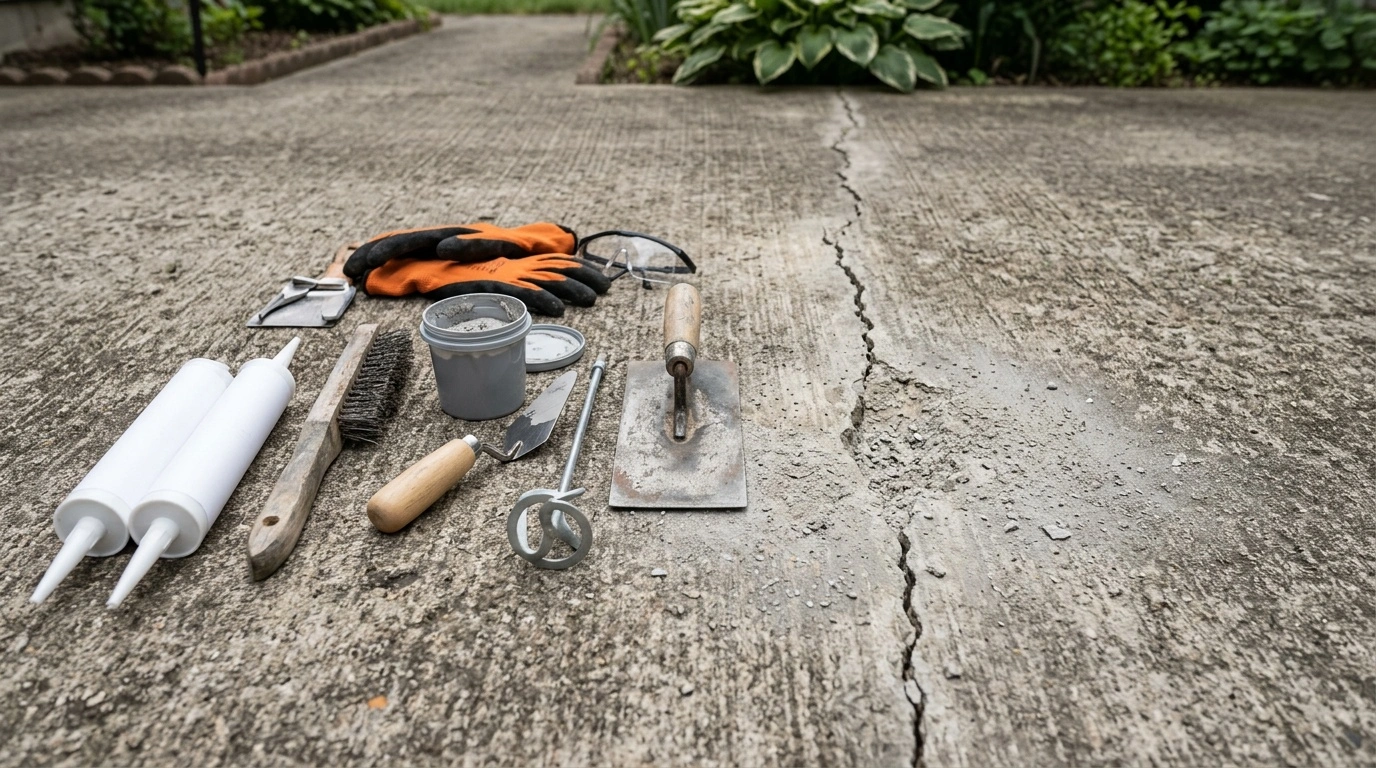
Concrete repair kits package the materials needed to fill cracks, patch spalls, or seal leaking concrete. The right kit depends on the damage, location, moisture, and expected movement.
Small cosmetic defects often suit a cement-based patch. Structural cracks or active leaks require different products and closer inspection.
Types of Concrete Repair Kits
Manufacturers build kits around specific repair methods. Before buying one, identify the defect and determine whether the concrete still moves.
Cement-Based Patching Kits
Cementitious kits repair shallow chips, holes, and surface spalling. Most contain a dry repair mortar that you mix with water or a supplied bonding liquid.
Check the minimum and maximum application depths before choosing a product. Some mortars support thin edges, while others need a deeper repair area to hold properly.
Epoxy Crack Repair Kits
Epoxy kits bond stable cracks and can restore some strength across sound concrete. Many foundation crack kits use injection ports and a surface-sealing paste.
Epoxy cures hard and has limited flexibility. It works best on dormant cracks that no longer widen, shift, or leak.
Polyurethane Injection Kits
Polyurethane resin expands inside a crack and helps stop water intrusion. Installers often use it for leaking basement walls and other damp locations.
This resin tolerates limited movement better than rigid epoxy. However, many polyurethane products seal leaks without providing a structural repair.
Concrete Resurfacing Kits
Resurfacers cover worn slabs with a thin cement-based layer. They can improve a driveway, patio, or walkway with widespread surface wear.
A resurfacer will not stabilize a sinking slab or repair deep deterioration. Fix movement, drainage, and loose concrete before applying the new surface.
How to Choose the Right Kit
Start by measuring the crack width, depth, and total repair area. Then note any moisture, edge movement, rust staining, or height difference across the crack.
Compare those conditions with the manufacturer’s stated uses. Concrete repair kits often look similar on the shelf, but their formulas solve different problems.
Match the Product to the Location
Exterior repairs face rain, freeze-thaw cycles, sunlight, and temperature changes. Choose a product rated for outdoor exposure and the expected service temperature.
Floors, steps, and driveways also need suitable wear and load resistance. For vertical or overhead work, select a non-sag mortar that stays in place.
Check Coverage and Cure Time
Coverage estimates help prevent a shortage halfway through the job. Measure the repair dimensions and allow extra material for irregular or deeper areas.
Fast-setting products reduce downtime but leave less working time. Read the pot life, initial set time, and full-cure schedule before mixing.
Review Moisture Requirements
Some repair mortars need a damp surface, while many epoxies require dry concrete. Certain polyurethane resins react with water during injection.
Follow the product instructions rather than using one preparation method for every repair. Incorrect moisture levels can weaken adhesion or disrupt curing.
Preparing Concrete for Repair
Preparation determines how well a repair bonds. Remove loose concrete, old coatings, dirt, oil, sealers, and dust from the work area.
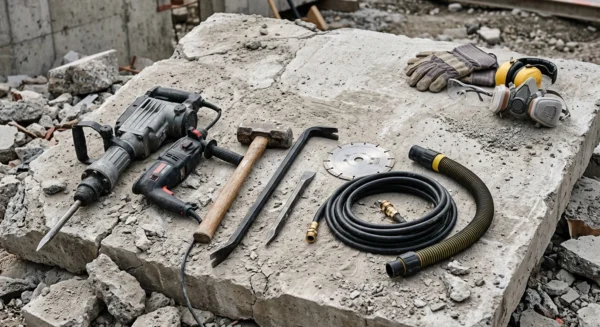
Use a wire brush, grinder, chisel, or vacuum as the repair requires. Wear eye protection, gloves, and suitable respiratory protection during dust-producing work.
Open and Clean the Damaged Area
Remove weak edges until you reach solid concrete. Do not spread patching material over loose or hollow sections because they will continue to break away.
Vacuum the area thoroughly after mechanical cleaning. Residual dust creates a barrier between the repair compound and the concrete.
Control Water Before Patching
Trace active leaks to their source when possible. Poor grading, clogged gutters, failed joints, or hydrostatic pressure can keep forcing water through a repaired crack.
A surface patch rarely solves ongoing water pressure. Address drainage problems before relying on a sealant or injection resin.
Applying the Repair Material
Read the full instructions before opening the containers. Confirm the mixing ratio, temperature range, working time, and required tools.
Mix only the amount you can place within the stated pot life. Adding extra water or solvent can reduce strength and cause shrinkage.
Place and Finish the Repair
Press patching mortar firmly against the prepared surface to remove voids. Build deep repairs in layers if the manufacturer limits lift thickness.
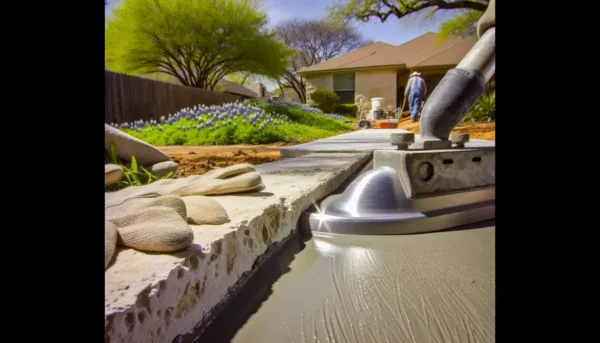
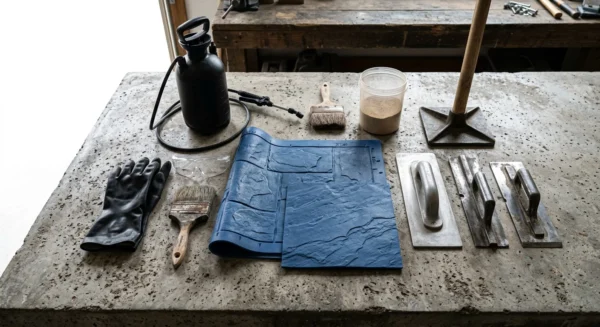
Match the surrounding texture before the material starts to set. Avoid excessive troweling because it can draw water and fine particles to the surface.
Protect the Cure
Fresh repairs may need protection from rain, direct sun, freezing temperatures, or rapid drying. Cement-based products sometimes require moist curing, while resin systems follow different schedules.
Keep people, vehicles, and equipment off the area until the product reaches the required strength. A surface may feel hard before it can support normal loads.
When to Call a Concrete Professional
Hire a qualified contractor or structural engineer for wide, displaced, or rapidly growing cracks. Horizontal foundation cracks, bowed walls, and recurring settlement also need professional evaluation.
Seek expert help when reinforcing steel shows heavy corrosion or concrete falls from overhead surfaces. These conditions can involve structural damage beyond a packaged repair.
Getting Reliable Results from Concrete Repair Kits
Concrete repair kits work well when the product matches the defect and the base remains sound. Careful cleaning, accurate mixing, and proper curing matter as much as the material itself.
Inspect the repair after heavy rain and seasonal temperature changes. If the crack returns or movement continues, investigate the underlying cause before patching it again.