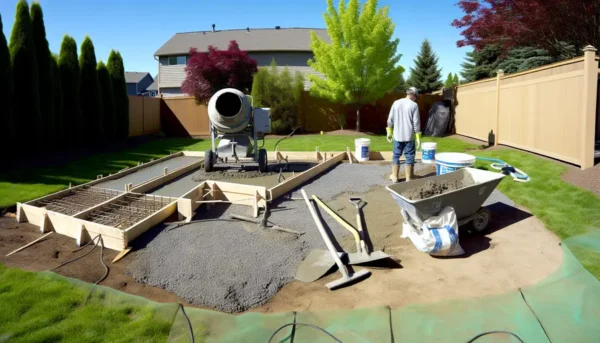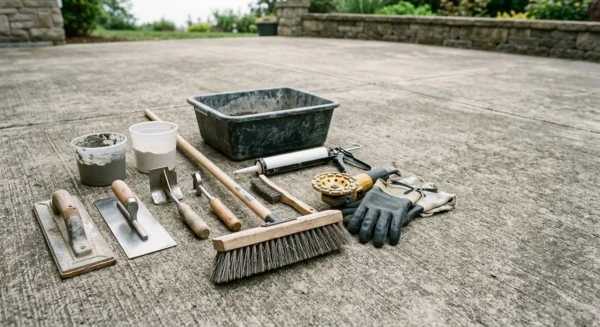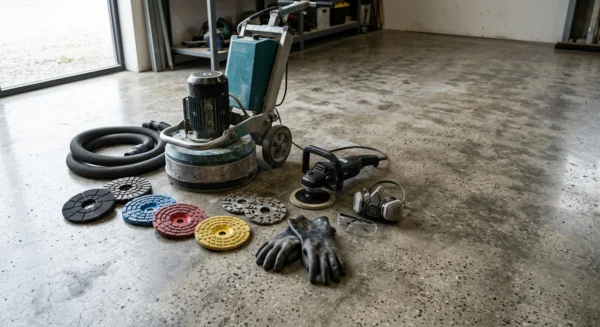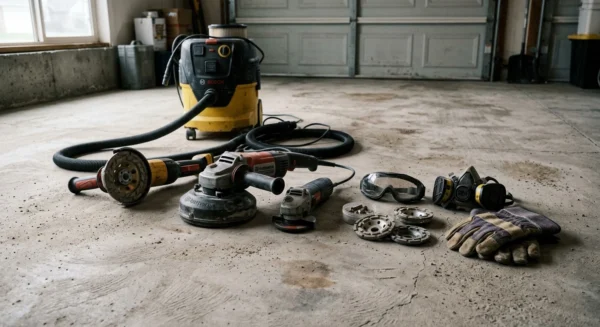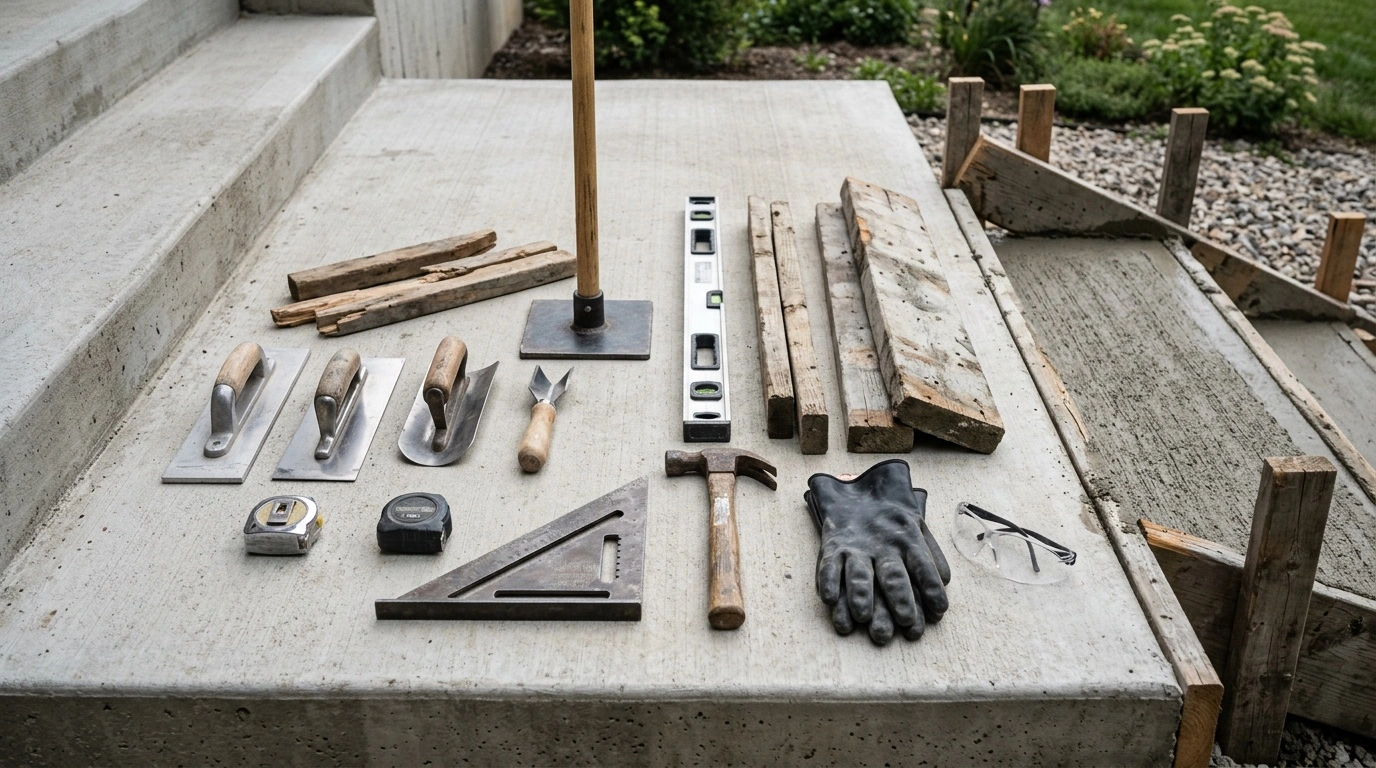
Concrete step tools help you build stable forms, place the mix cleanly, and finish each tread with a safe surface. The right setup also reduces wasted concrete and limits repairs after the forms come off.
Most step projects require layout, excavation, formwork, reinforcement, placement, and finishing tools. Gather everything before the concrete truck arrives or you start mixing bags.
Concrete Step Tools for Layout and Site Preparation
Accurate layout keeps every riser consistent and every tread level. Check local building codes before choosing dimensions, especially for exterior stairs near an entrance.
- Tape measure: Measures the total rise, stair width, tread depth, and form components.
- Four-foot level: Checks forms, landings, and tread slope.
- String line and stakes: Mark the stair width, finished height, and excavation limits.
- Framing square: Lays out matching risers and treads on form panels.
- Marking paint or chalk: Creates visible cut and excavation lines.
Exterior treads need a slight pitch so water drains away from the building. Use the level to confirm that pitch instead of judging it by eye.
Excavation and Base Tools
A concrete stair unit needs firm, compacted support. Remove loose soil, roots, organic material, and any fill that shifts under foot pressure.
- Square-point shovel: Cuts edges and removes soil from tight areas.
- Mattock or digging bar: Breaks hard ground and removes buried obstructions.
- Wheelbarrow: Moves soil, gravel, bagged mix, and jobsite debris.
- Hand tamper or plate compactor: Compacts the base in controlled lifts.
- Landscape rake: Spreads gravel before compaction.
A plate compactor works faster on wide landings. However, a hand tamper often fits better inside narrow stair forms.
Tools for Building Strong Step Forms
Forms control the stair dimensions and hold wet concrete under pressure. Use straight lumber or exterior-grade plywood without deep warps or damaged edges.
- Circular saw: Cuts plywood sides, riser boards, stakes, and braces.
- Drill or impact driver: Fastens forms and allows easier adjustment than nails.
- Hammer: Drives stakes and handles small form corrections.
- Clamps: Hold pieces in position during assembly.
- Form screws: Secure braces while allowing clean removal after curing.
- Form-release agent: Prevents concrete from bonding tightly to the wood.
Brace each riser and both side panels. Wet concrete can bow weak forms, which changes tread depth and leaves uneven edges.
Apply release agent in a thin coat. Heavy application can stain the surface or collect in corners.
Reinforcement Tools
Reinforcement requirements depend on stair size, soil conditions, and local code. A landing tied to an existing foundation may require engineered connections.
- Bolt cutters or an angle grinder: Cut reinforcing bar or welded wire.
- Rebar tie wire and pliers: Hold bars at the planned spacing.
- Rebar chairs: Keep steel inside the concrete instead of against the base.
- Rotary hammer: Drills anchor holes when approved plans call for dowels.
Wear eye protection and gloves while cutting steel. Never place reinforcement directly on soil or gravel, since it needs concrete cover for corrosion protection.
Mixing and Placing Equipment
Bagged concrete suits small repairs and short stair runs. Larger projects usually call for a mixer or ready-mix delivery because consistent batches produce better results.
- Concrete mixer: Combines bagged material and measured water evenly.
- Five-gallon bucket: Measures water and carries small quantities of mix.
- Mortar hoe: Mixes concrete in a wheelbarrow or mixing tub.
- Concrete chute or wheelbarrow: Moves wet concrete into the forms.
- Come-along: Pulls concrete into corners and around reinforcement.
- Concrete vibrator: Consolidates deep sections and releases trapped air.
Add water according to the mix instructions. Excess water weakens the cured concrete and increases shrinkage, dusting, and surface scaling.
Place concrete from the lowest step upward. Work it against the forms, but avoid pushing reinforcement out of position.
Tools for Screeding and Finishing Steps
Finishing starts as soon as each tread reaches its planned height. Keep the concrete step tools for this stage clean and within reach.
- Straight screed board: Strikes off excess concrete at the top of each form.
- Magnesium float: Flattens ridges and closes small surface voids.
- Steel finishing trowel: Refines surfaces that need a smoother finish.
- Step tool or inside corner tool: Shapes the joint between each tread and riser.
- Edger: Rounds exposed corners to reduce chipping.
- Groover: Forms planned control joints where the design requires them.
- Concrete broom: Adds traction to exterior treads.
- Margin trowel: Repairs corners and works in narrow areas.
Wait until bleed water disappears before final finishing. Working water back into the surface can weaken the top layer and cause peeling later.
Use a broom finish on outdoor steps where rain, snow, or mud creates slip hazards. Pull the broom across each tread in a consistent direction.
Detail Tools for Form Removal
Remove forms only after the concrete has gained enough strength to hold its edges. Timing varies with temperature, mix design, and stair thickness.
- Flat pry bar: Separates forms without striking new edges.
- Utility knife: Cuts sealant, tape, or trapped form liner.
- Rubbing stone: Removes sharp fins and minor surface defects.
- Soft brush: Clears dust before patching small voids.
Work slowly around tread corners. Fresh edges can chip if you twist the forms or pry against the concrete.
Safety and Cleanup Equipment
Wet concrete can burn skin, while cement dust can irritate eyes and lungs. Cutting lumber, steel, or masonry creates additional hazards.
- Alkali-resistant gloves: Protect hands during placement and cleanup.
- Safety glasses: Shield eyes from dust, chips, and concrete splashes.
- Rubber boots: Keep wet concrete away from feet and ankles.
- Hearing protection: Reduces noise exposure from saws, grinders, and compactors.
- Respirator: Protects against airborne dust during cutting and dry mixing.
- GFCI-protected power supply: Reduces electrical risk around water and wet concrete.
Wash tools before concrete hardens on them. Keep rinse water out of storm drains, soil, and landscaped areas.
Choosing a Practical Tool Set
Buy the layout and hand-finishing tools you expect to use again. Renting a mixer, plate compactor, rotary hammer, or vibrator often makes sense for a single project.
Inspect rental equipment before leaving the yard. Confirm that cords, guards, switches, and moving parts work correctly.
A reliable set of concrete step tools supports accurate forms, steady placement, and durable finishing. Careful layout and good timing matter just as much as the equipment itself.