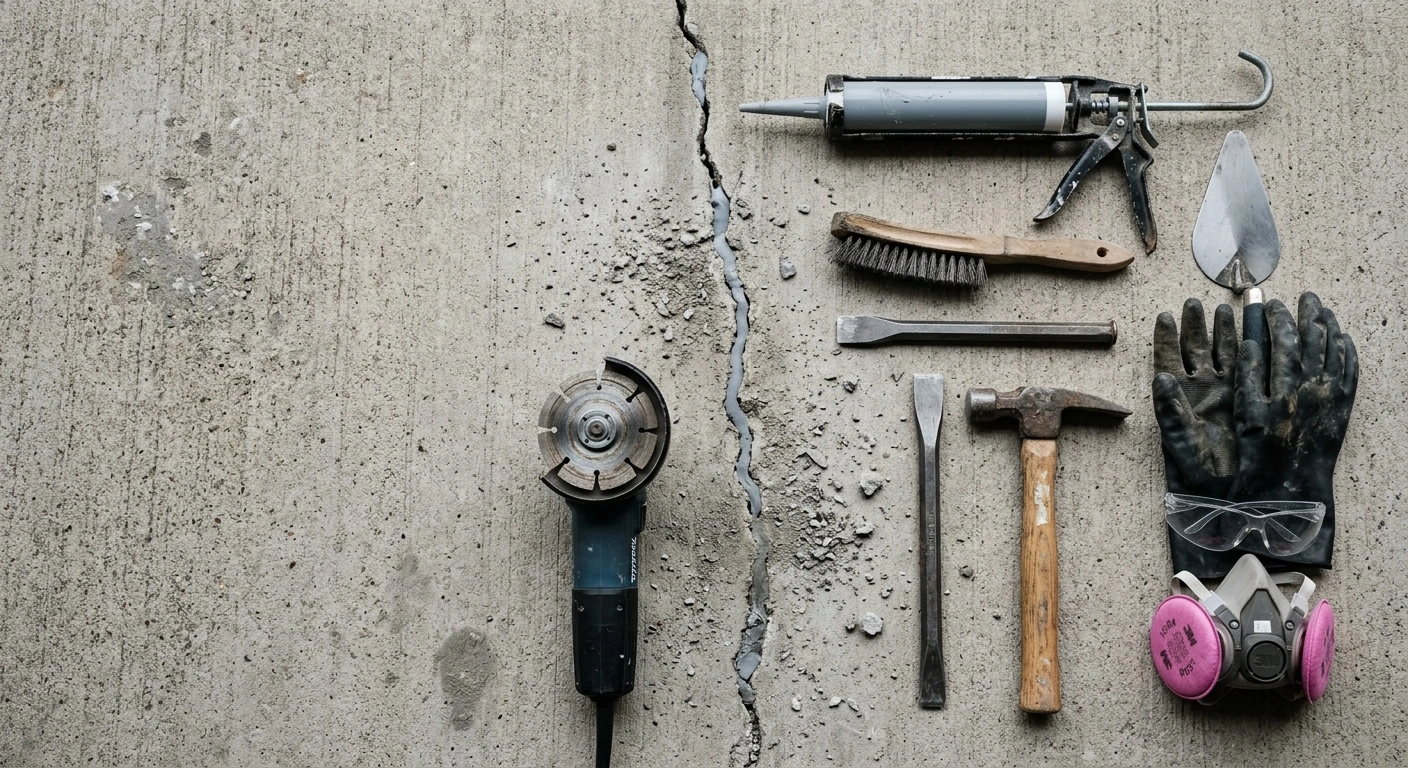
Concrete crack repair tools help you prepare damaged concrete, apply the right repair material, and create a durable finish. The tool list depends on the crack’s width, location, moisture level, and movement. Before buying equipment, identify the cause of the damage and choose a compatible repair method.
How to Choose Concrete Crack Repair Tools
Start by inspecting the crack rather than reaching for a grinder or sealant. Measure its width, check for moisture, and look for vertical or horizontal displacement. Mark each end with a pencil so you can monitor future growth.
Hairline surface cracks often need cleaning and a liquid crack filler. Wider cracks may require routing, patching compound, or injection equipment. Moving joints need flexible sealant because rigid fillers can crack again.
Watch for signs of structural movement. Bowing foundation walls, widening horizontal cracks, and major slab displacement require professional evaluation. A structural engineer or qualified foundation contractor can identify the cause before repairs hide the evidence.
Inspection and Measuring Equipment
Good repair work starts with accurate measurements. A basic inspection kit should include a tape measure, bright work light, straightedge, and crack-width gauge. Use a moisture meter when the repair product requires dry concrete.
- Crack-width gauge: Measures narrow openings more accurately than a standard ruler.
- Tape measure: Records crack length and tracks changes over time.
- Straightedge: Reveals lifting, settlement, or uneven surfaces across the crack.
- Moisture meter: Checks whether the concrete meets the repair material’s requirements.
- Marker or chalk: Identifies crack limits and areas that need preparation.
Take dated photographs before starting. If you suspect active movement, measure the crack again after several weeks. Repairing an unstable crack without addressing movement often leads to another failure.
Tools for Cleaning and Preparing Cracks
Repair compounds need clean, sound concrete for proper adhesion. Remove dust, loose aggregate, paint, oil, and old filler before applying a new product. Follow the repair manufacturer’s preparation instructions because requirements vary by material.
Hand Tools
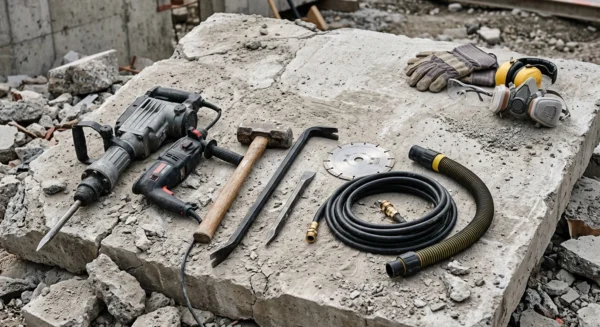
A stiff wire brush handles light debris and weak surface material. Use a cold chisel and masonry hammer to remove crumbling edges from larger cracks. Work carefully because excessive force can enlarge the damaged area.
A margin trowel or putty knife also helps scrape out old sealant. For narrow cracks, use a utility knife or specialized crack-cleaning blade. Never force a blade into a crack that may conceal electrical wiring or embedded heating elements.
Power Tools
An angle grinder with a diamond crack-chasing wheel can open irregular cracks to a consistent profile. This gives some repair materials more bonding area. However, grinding creates silica dust and requires proper dust control.
A rotary hammer with a small chisel bit removes weak concrete from deep repairs. Keep the tool at a shallow angle to avoid undermining solid edges. For broad surface preparation, contractors may use a concrete grinder with a connected dust extractor.
Dust and Debris Removal
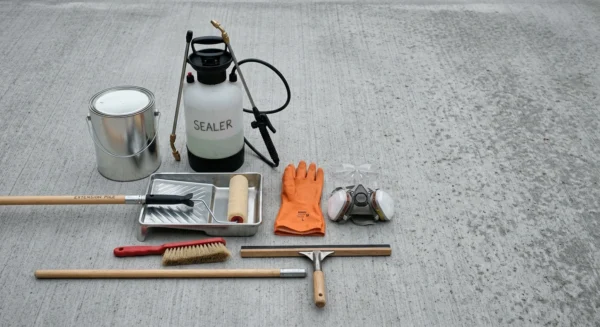
A shop vacuum with a high-efficiency filter removes dry dust from the crack. Compressed air can clear narrow spaces, but it may spread silica dust through the work area. Use an appropriate vacuum whenever possible.
Some products allow water cleaning, while others require completely dry concrete. Do not pressure-wash a crack immediately before using moisture-sensitive epoxy. Check the product data sheet for drying times and surface conditions.
Application Tools for Common Repair Materials
The correct applicator controls material flow and reduces waste. Match concrete crack repair tools to the product’s viscosity, package, and working time. Confirm that the nozzle, gun, and mixing system fit the selected cartridge or container.
Caulk Guns
A standard caulk gun works with many flexible concrete sealants. Thick polyurethane and epoxy products may require a high-thrust model. A dripless gun offers better control during overhead or vertical work.
Cut the nozzle slightly narrower than the joint. You can enlarge the opening if the material flows too slowly. Puncture the cartridge seal fully so pressure does not build behind a partial opening.
Epoxy and Polyurethane Injection Tools
Injection kits usually include surface ports, adhesive, tubing, and resin cartridges. Epoxy bonds structural cracks in dry concrete when an engineer or manufacturer specifies that method. Polyurethane foam can seal certain leaking cracks because it reacts with moisture and expands.
Do not treat epoxy and polyurethane as interchangeable products. Epoxy creates a rigid bond, while polyurethane tolerates limited movement and blocks water. Follow the kit’s required port spacing, injection order, and curing schedule.
Trowels, Floats, and Mixing Tools
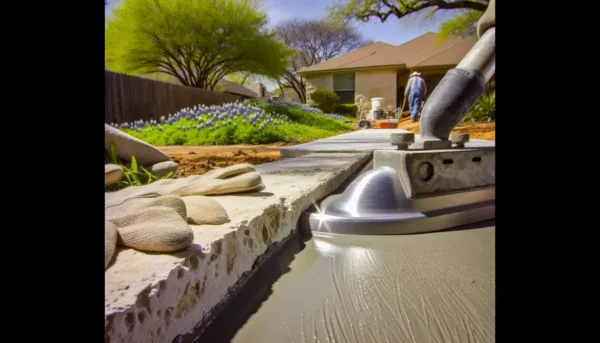
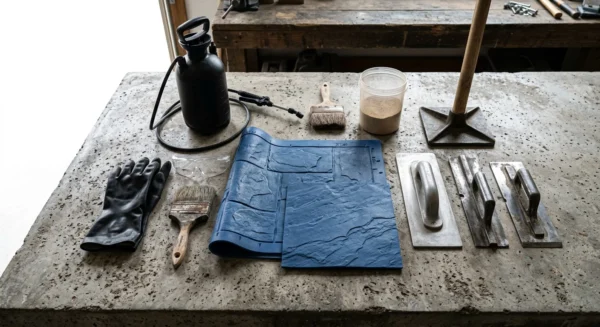
Use a margin trowel to place repair mortar into routed cracks and small voids. A finishing trowel smooths the surface, while a concrete float helps blend larger patches. Keep tools clean so cured fragments do not drag through fresh material.
For two-part compounds, use the manufacturer’s recommended mixing paddle and drill speed. Fast mixing can trap air or shorten working time. Mix only the amount you can place before the product begins to stiffen.
Safety Equipment for Concrete Crack Repair
Concrete preparation can release respirable crystalline silica. Wear a properly selected respirator and use a compatible dust-control system. Follow local workplace rules and the tool manufacturer’s safety guidance.
- Safety glasses or goggles: Protect against dust, chips, and splashes.
- Hearing protection: Reduces noise exposure from grinders and rotary hammers.
- Work gloves: Protect hands from sharp concrete and chemical repair products.
- Knee pads: Reduce strain during floor and slab repairs.
- Respiratory protection: Helps control exposure when engineering controls cannot remove all dust.
- Protective clothing: Keeps epoxy, polyurethane, and cement products away from skin.
Read each product’s safety data sheet before opening the package. Provide ventilation in basements, garages, and other enclosed areas. Keep uncured chemicals away from children, pets, flames, and food-storage areas.
Basic Crack Repair Process
- Inspect the crack. Determine its width, depth, moisture condition, and likely cause.
- Select the repair material. Choose epoxy, polyurethane, flexible sealant, or repair mortar as conditions require.
- Prepare the area. Remove loose concrete, old filler, dirt, coatings, and dust.
- Install backer rod if required. This controls sealant depth in wider joints.
- Apply the material. Follow the specified temperature, mixing, and placement instructions.
- Finish the surface. Tool the sealant or smooth the patch before it sets.
- Protect the repair. Keep traffic, water, and temperature extremes away during curing.
Do not rush surface preparation. Even a strong repair product can separate from dusty or unsound concrete. Temperature also matters because cold or hot conditions can change flow and curing time.
Common Tool Selection Mistakes
A low-powered caulk gun may struggle with thick repair compounds. Excess pressure can damage a cartridge or force material around the plunger. Check the product’s thrust requirements before choosing a gun.
Using an oversized grinder can remove more concrete than necessary. Choose a wheel that matches the desired crack profile and keep the cut controlled. A wider channel also consumes more repair material.
Many repairs fail because workers leave dust inside the opening. Brushing alone may push fine particles deeper into the crack. Vacuum thoroughly, then inspect the surface with a bright light.
Rigid filler also performs poorly in an active control joint. These joints allow planned movement, so they usually need a flexible joint sealant. Keep the sealant depth within the manufacturer’s stated range.
Building a Practical Repair Kit
A basic homeowner kit can include a wire brush, crack gauge, shop vacuum, putty knife, caulk gun, and safety gear. Add a cold chisel and masonry hammer for loose edges. Buy power tools only when the repair method requires mechanical preparation.
Professionals often need stronger applicators, dust extraction, grinders, injection systems, and several finishing tools. Organize concrete crack repair tools by preparation, application, and cleanup tasks. This makes missing equipment easier to spot before the material starts curing.
Choose Tools That Match the Crack
Successful repairs depend on diagnosis, preparation, and product compatibility. Measure the damage first, then select tools that fit the crack and repair material. Seek professional guidance when cracks show movement, water pressure, wall bowing, or major displacement.